
How to set up a home web server for brick picking
Written 2020-03-25
You’ve got your kids, your business partner, and your monkey’s cousin working for you, picking bricks from order sheets you’ve saved as PDF files. Everybody has a tablet, and it’s a pain to copy those files to the tablet. And to delete them from the tablet. So, relieve yourself of the PDF copying-to and later removing-from the tablet. Set up an in-house web server, drop all your files in one place, and ease the pain.
These instructions assume you haven’t previously set up web serving. This setup should happen on the computer you’re using to manage your orders, or a dedicated computer for the purpose of serving files.
Setting up a home web server on Windows 10
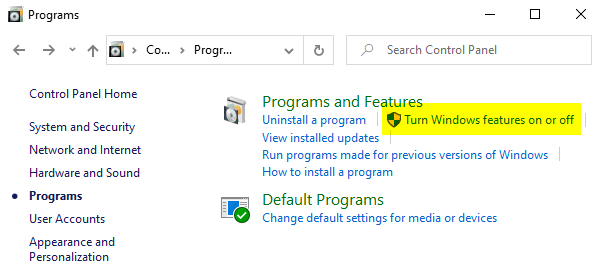
1. To get your server running, go into the Control Panel, Programs and Features, and Turn Windows features on or off.
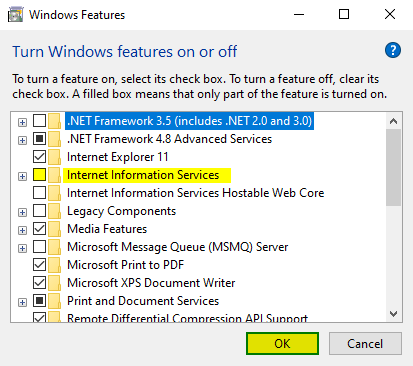
2. Locate the line for Internet Information Services. If the box is already checked or has a black square in the box, then the server is already running. If it is not checked, check the box and then OK. This may take several moments to initiate.
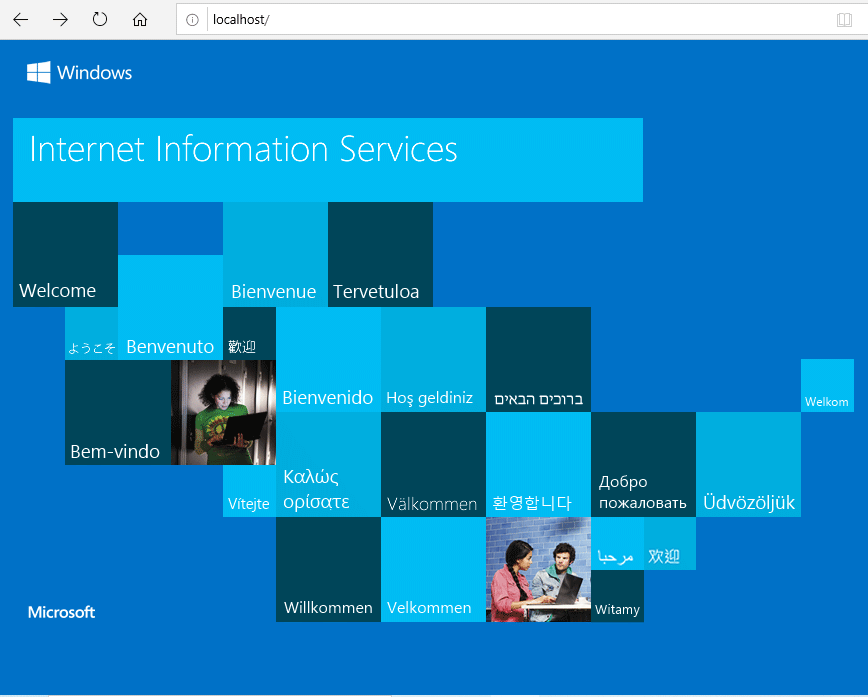
3. Verify the server is running. Open a web browser and enter http://localhost
You should see a screen similar to this.
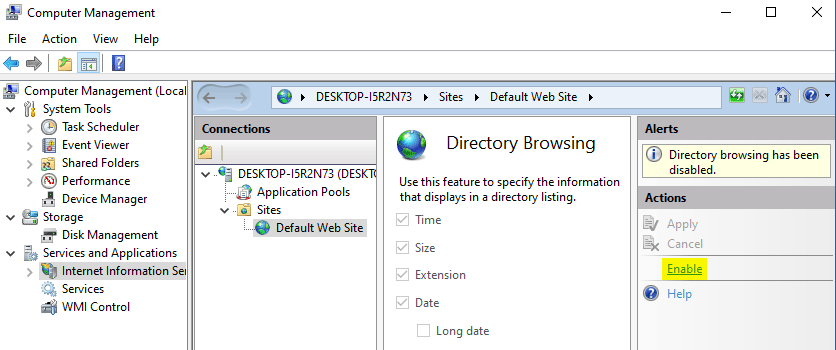
4. Go to Programs > Windows Administrative Tools > Computer Management. From the window, select Internet Information Services, then Default Web Site. In Features View, select Directory Browsing.

5. Click Enable.
6. On your C drive you should find a folder called inetpub. Within that folder you should find a folder called wwwroot. You may want to create a shortcut for this folder and place it on the desktop or pin it to the task bar.

7. Right-click wwwroot folder and select Properties. In the General tab, uncheck the Read-only Attributes box. Click Apply.

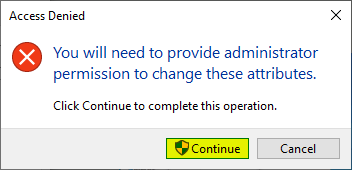
8. Click Continue when you get the warning screen.
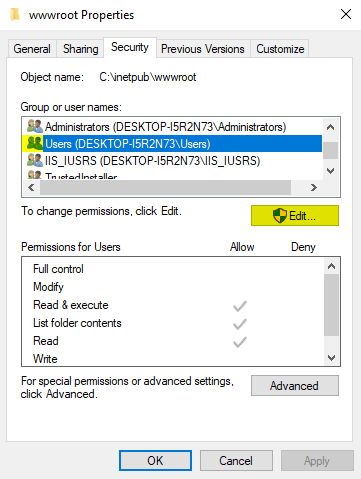
9. From the Security tab, select the Users username and click Edit.
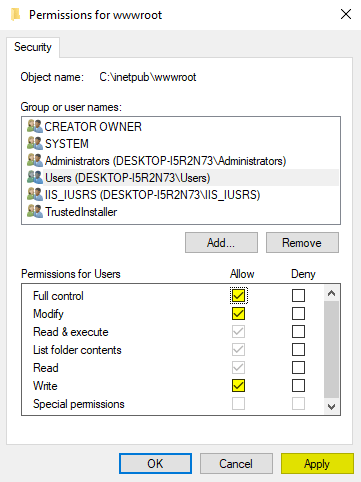
10. Check permissions for the user: Full Control, Modify, and Write. Click Apply.
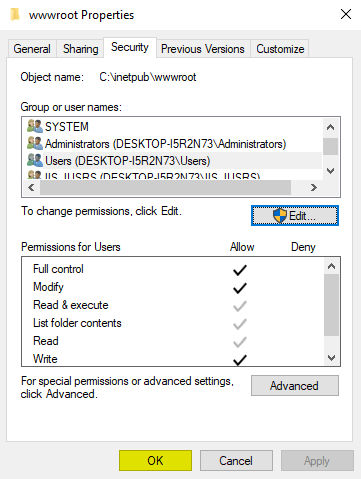
11. Click OK.
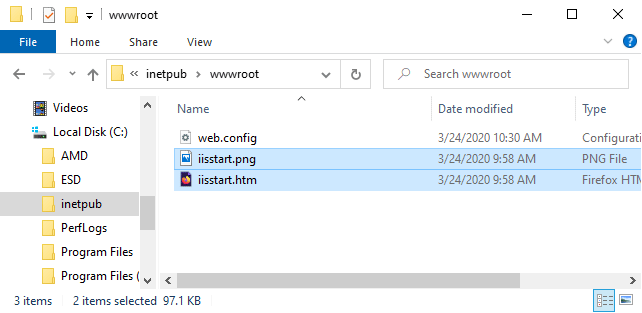
12. Open the wwwroot folder. Remove iisstart.png and iistart.htm. Leave web.config. Drag your PDF files into the folder.
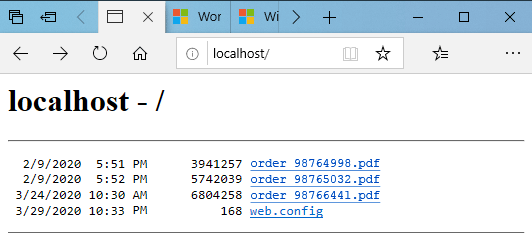
13. Return to the browser and refresh the page. You should now see a list of your files.
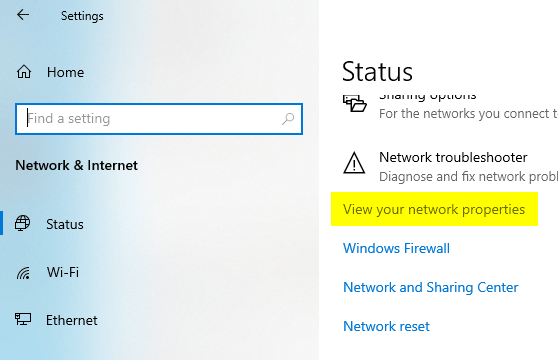
14. Go to Settings > Network & Internet > Status and View your network properties.
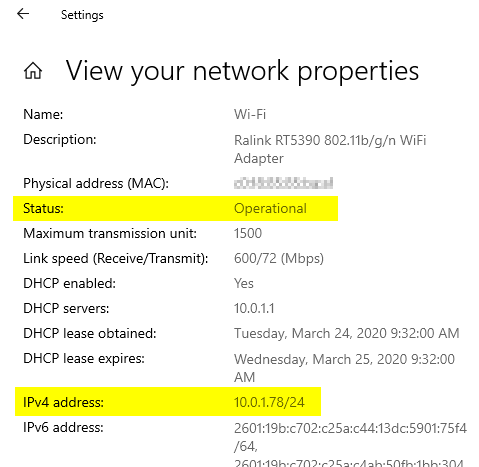
15. Scroll down until you find a set that shows Status: Operational. Below that you should find an IPv4 address. This should typically be either in the 10.0.x.x or 192.168.x.x range. Note the address. Ignore the slash and any number that may follow the slash.
16. Open the browser on your tablet. Enter the IP number from the web serving computer. You should see the page with the files. Tap on any file you wish to view.
17. Make sure the web serving computer does not fall asleep while you’re working. Also note the IP number may change if the web serving computer goes to sleep or is restarted.
Setting up a home web server on Mac OS 10.14+
Before starting, you will need a text editor that can read invisible files. I recommend BBEdit.
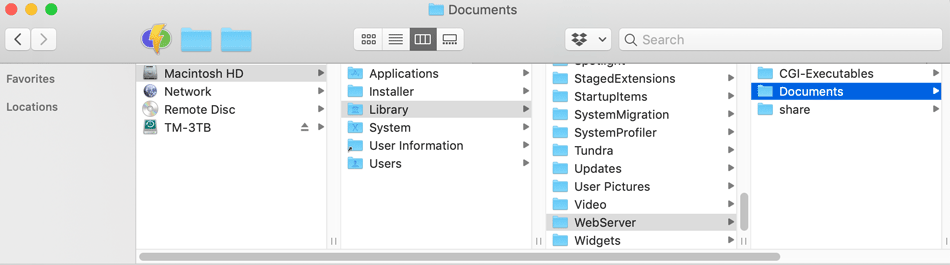
1. In the Finder, navigate to the Hard Drive > Library > WebServer > Documents.
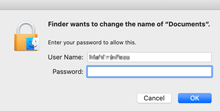
2. Rename the Documents folder webdocs. You will get a dialog asking for your admin password. Enter your password and OK.
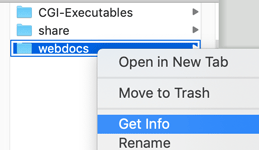
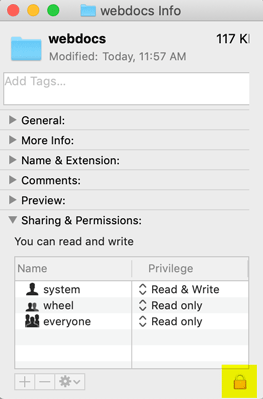
3. Finish renaming the folder. With folder selected, control-click folder and select Get Info from the dialog.
4. In the webdocs info window, click the lock icon in the lower corner.
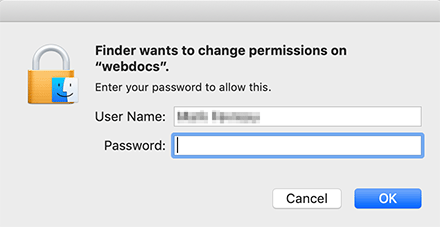
5. You will be asked for your admin password. Enter password and OK.
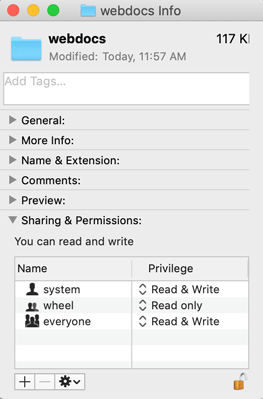
6. Change the permissions from Read only to Read & Write for everyone. Click the lock icon to close it. Close the webdocs info window.
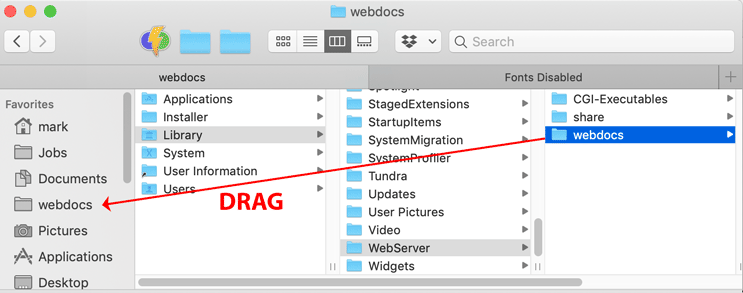
7. Drag the folder into the window sidebar or create an alias for the webdocs folder and place it on the desktop.
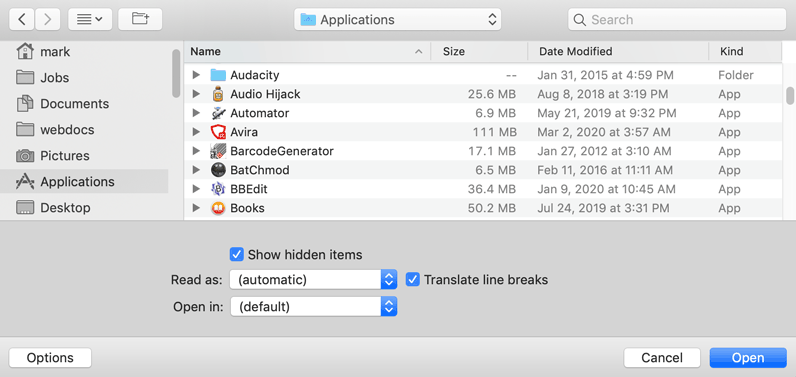
8. Launch BBEdit. From within BBEdit choose Open from the file menu. Click the Options button. Check the box to show hidden items.
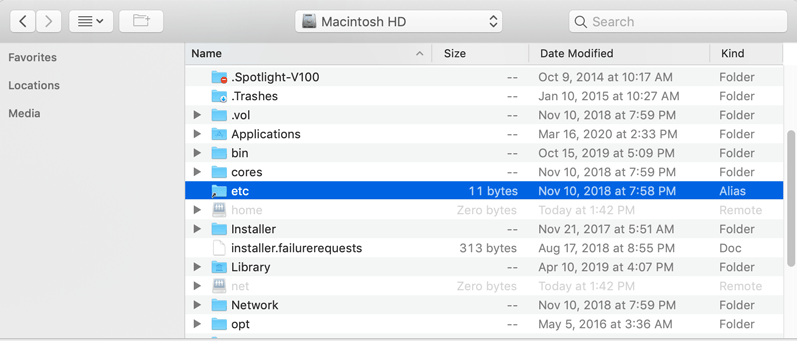
9. Navigate to the root directory of the computer. Open the etc folder.
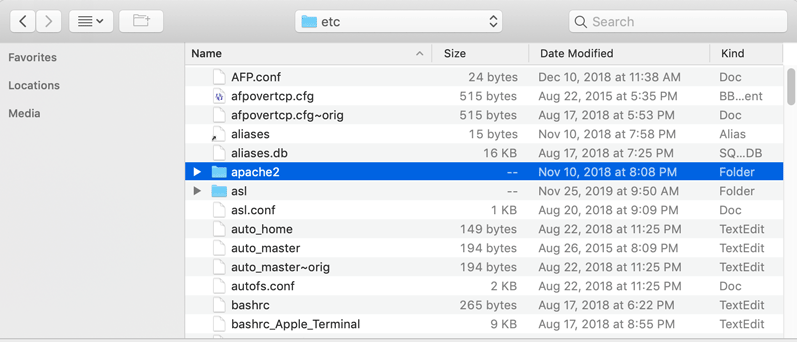
Inside the etc folder open the apache2 folder.
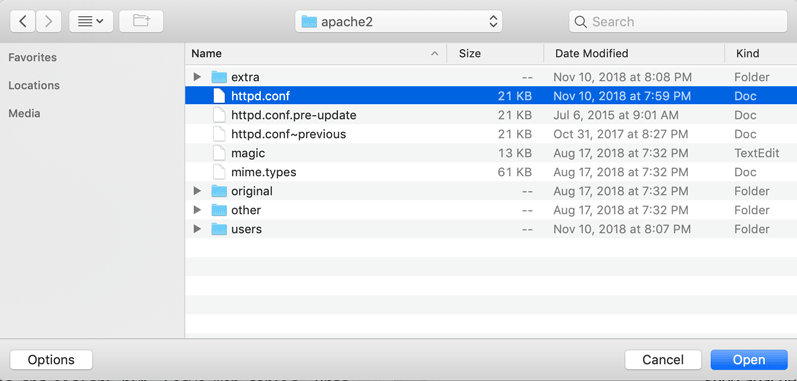
Inside the apache2 folder, select httpd.conf and open it.
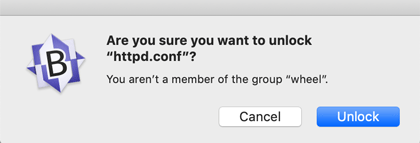
You will get a warning. Click Unlock.
5. Scroll down to around line 250 look for where it says DocumentRoot "/Library/WebServer/Documents"
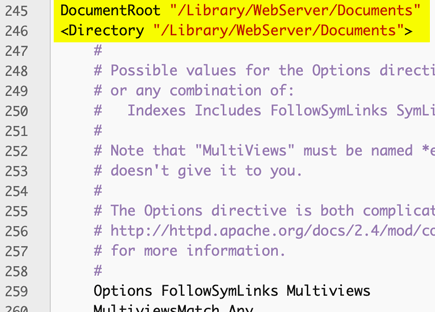
Change Documents to webdocs in two places.
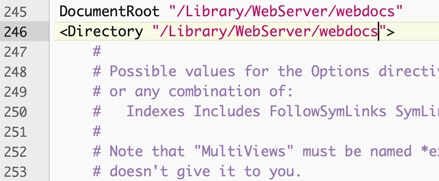
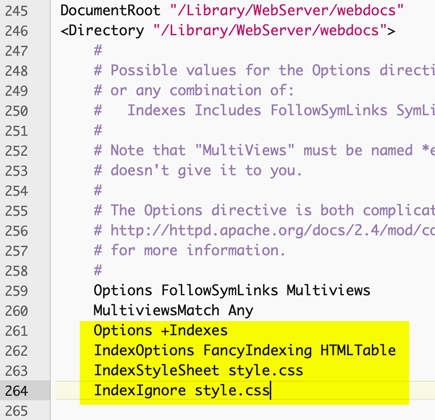
Scroll down a few lines more to where it says MultiviewsMatch Any. Add the following four lines:
Options +Indexes
IndexOptions FancyIndexing HTMLTable
IndexStyleSheet style.css
IndexIgnore style.css
6. Save the file, you'll get an alert. Enter your admin password, OK, and close the file.
7. From BBEdit create a new file. Enter the following:
body { font-family:sans-serif; }
table { width:95%; margin:0 auto; }
.indexcolname { width:300px; }
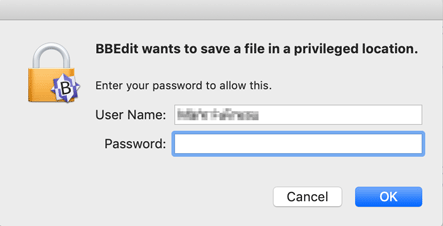
Save the file as “style.css” and save it into the webdocs folder. You may get the same privileged location warning as before. If so, enter password and OK. Quit BBEdit.
8. Open Safari or other browser and type localhost into the url line. If the web server is not running, you will see something like this:
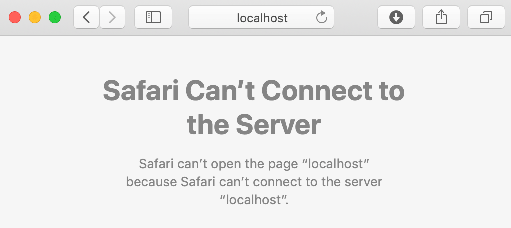
If you see the above, go to step 9.
If the web server is running, you should see something like this:
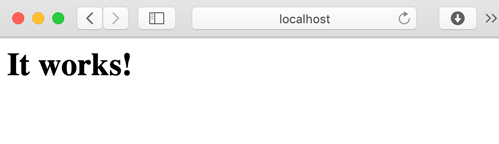
If you see the above, go to step 11.
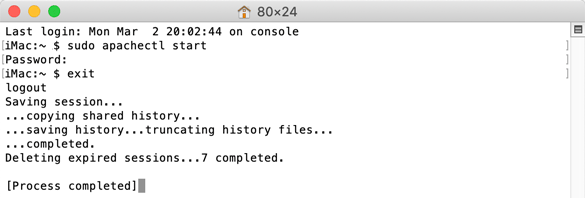
9. Open the Terminal app (inside Applications > Utilities folder) and enter the following:
sudo apachectl start
Hit return. Terminal will ask for your admin password. Enter your password and hit return.

10. Enter the following:
exit
Hit return. Quit Terminal.
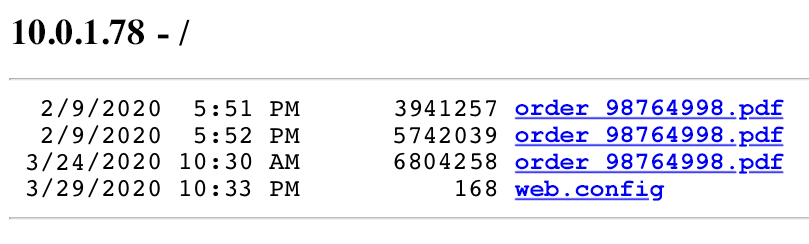
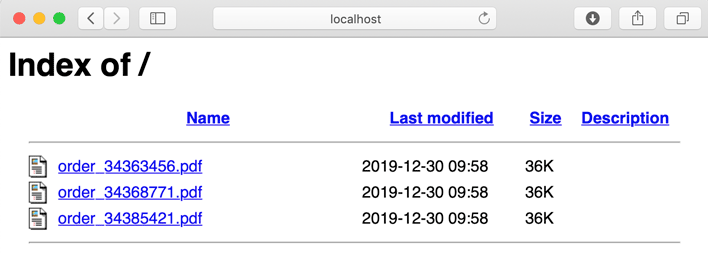
11. Go to the web browser and refresh the page. You should see something like this:
12. In the Finder, go to the webdocs folder and delete all files except style.css.
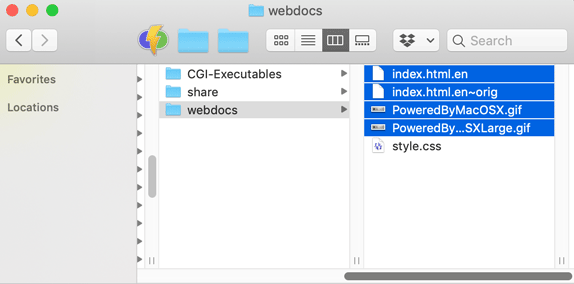
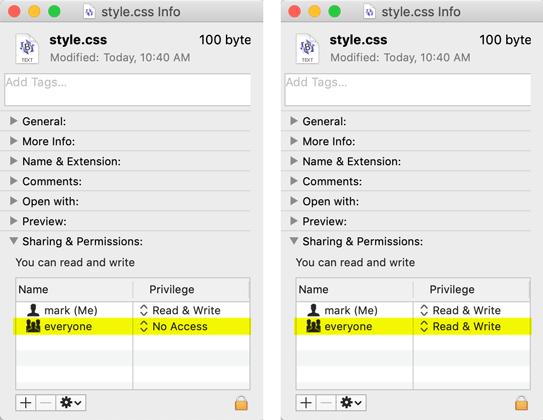
13. Control-click style.css and select Get Info from the dialog. In the style.css info window, change permissions from No Access to Read & Write. You might have to click the lock icon and authenticate first if you get a permissions warning. Close the style.css info window.
14. Drag your order PDF files from wherever they are into the webdocs window.
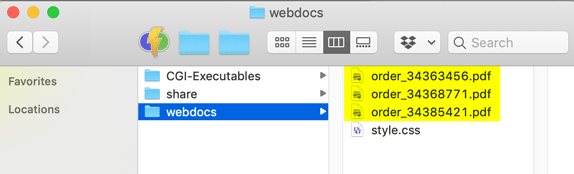
15. In your web browser, refresh the page. You should now see your PDF files in the list.
16. Go to System Preferences and open the Network tab.
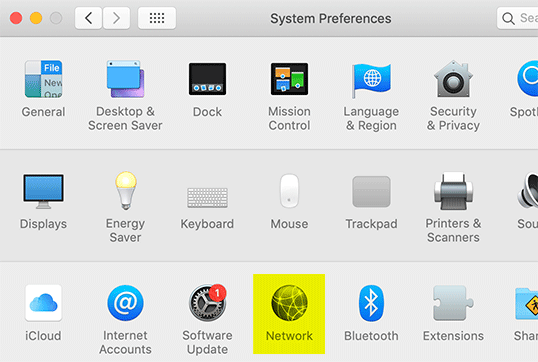
17. In the Network panel, note the IP address of your computer. Close the Network window.
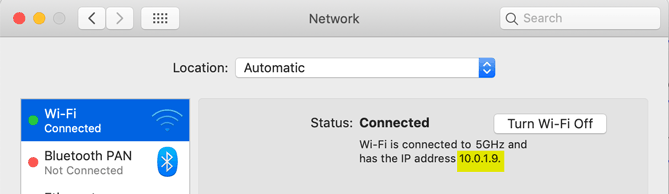
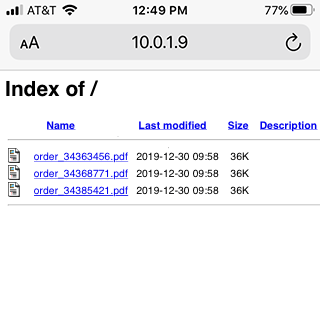
18. On your tablet, enter the IP address of your computer into the URL line of the browser and Go. You should see the list of PDF files. Select a file to open it on the tablet.
19. Make sure the web serving computer does not fall asleep while you’re working. Also note the IP number may change if the web serving computer goes to sleep or is restarted.