
Step by step torso image prep using Photoshop Elements
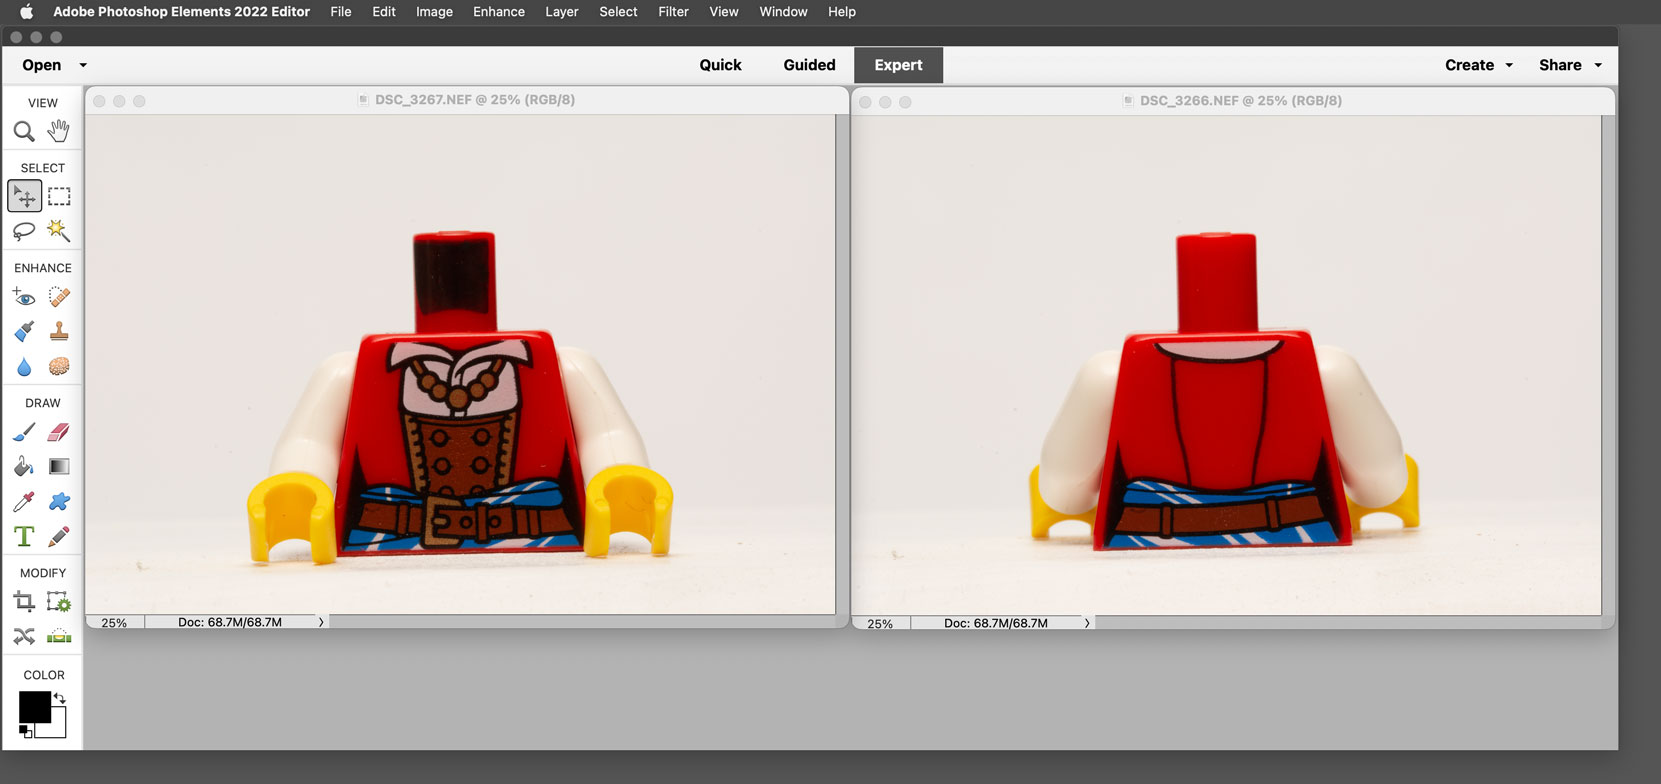
1. The front and back images off the camera. They’re a little crooked.
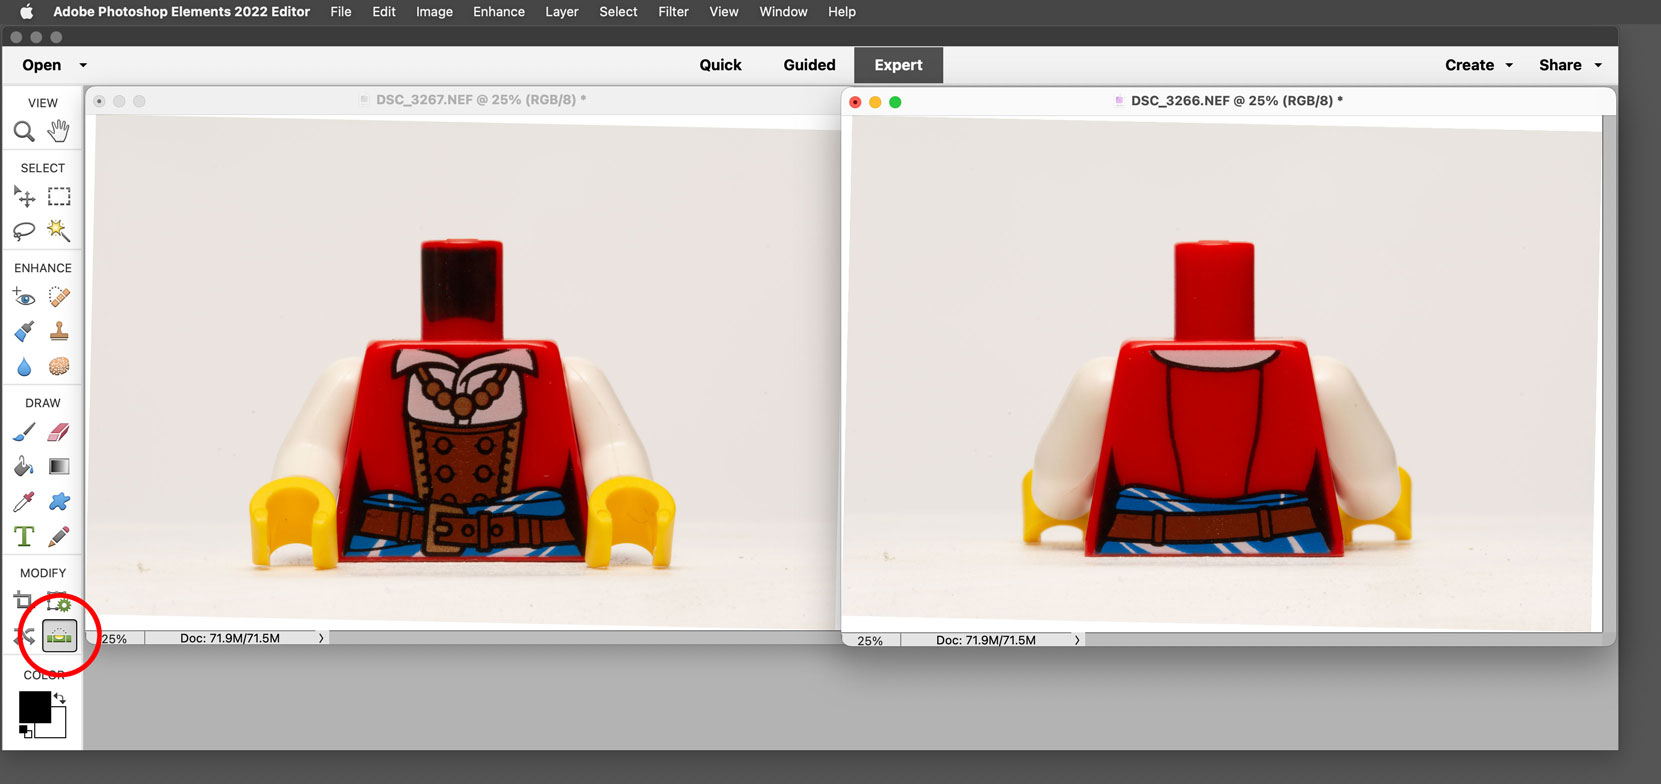
2. Images after being straightened with the straighten tool run along the baseline of the torso.
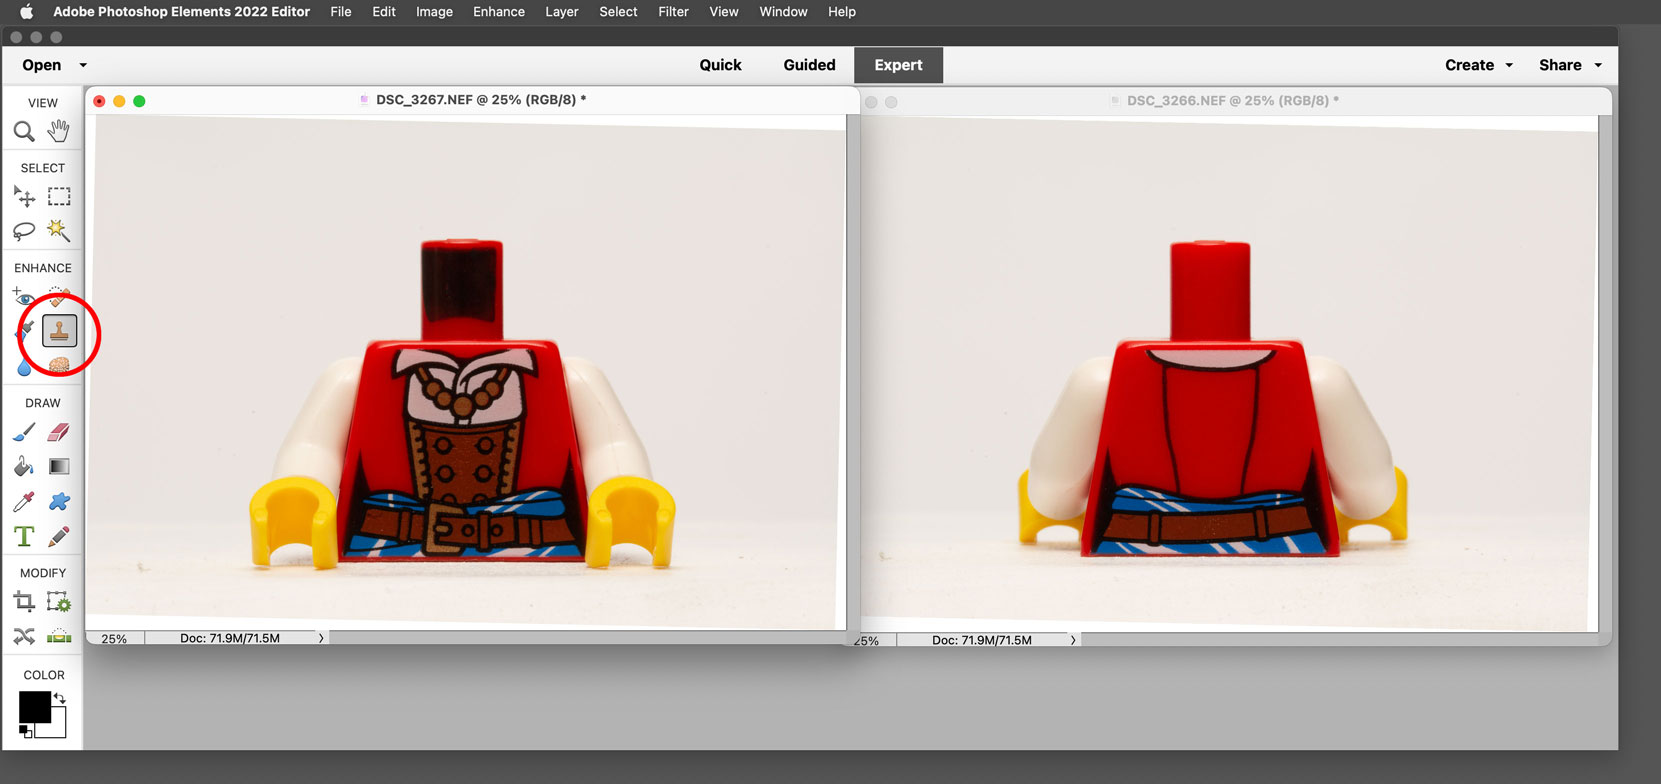
3. Images after being retouched.
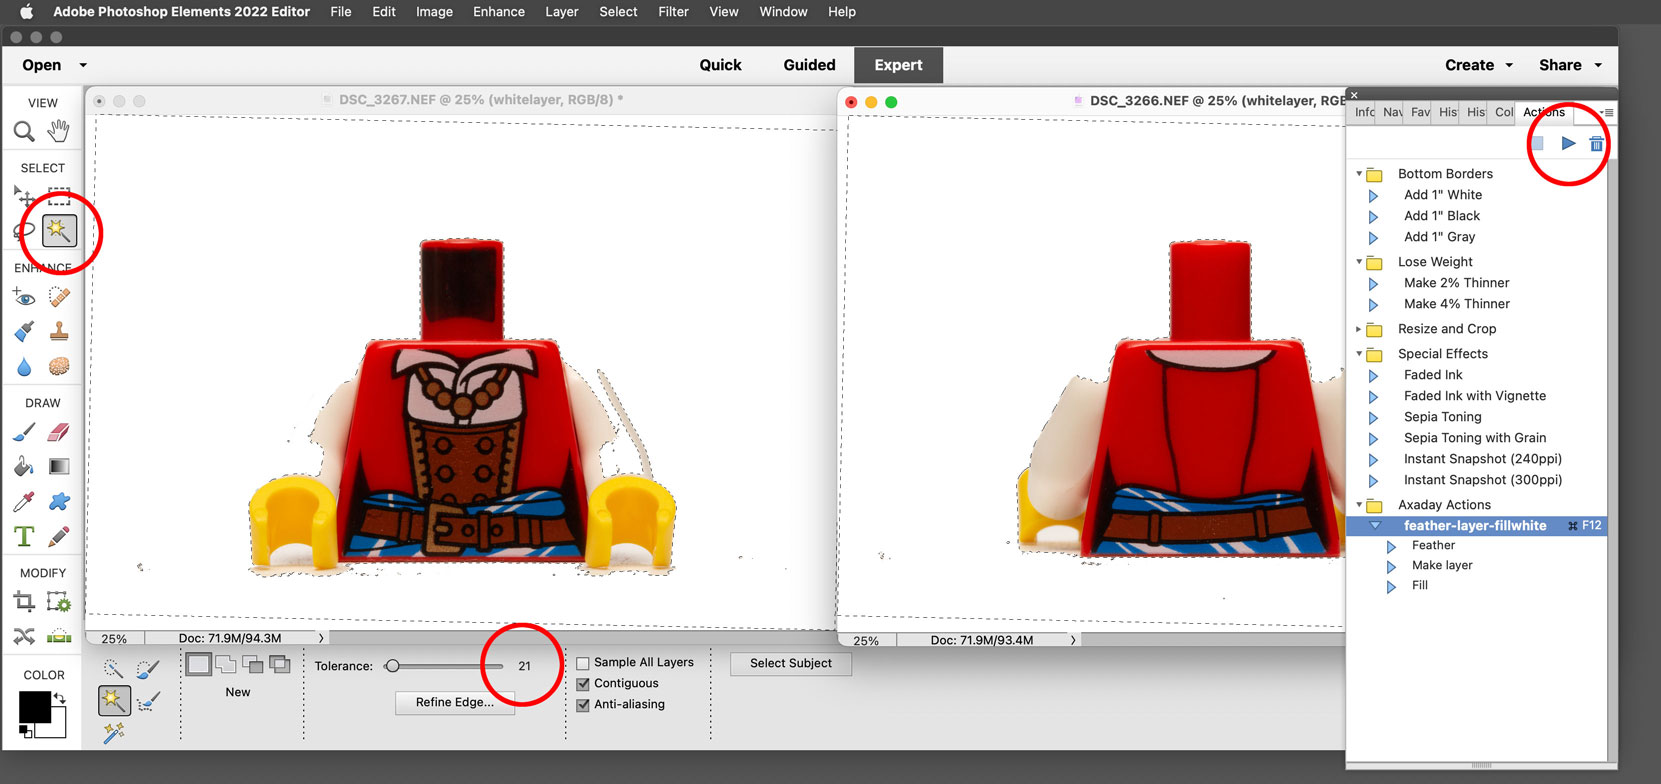
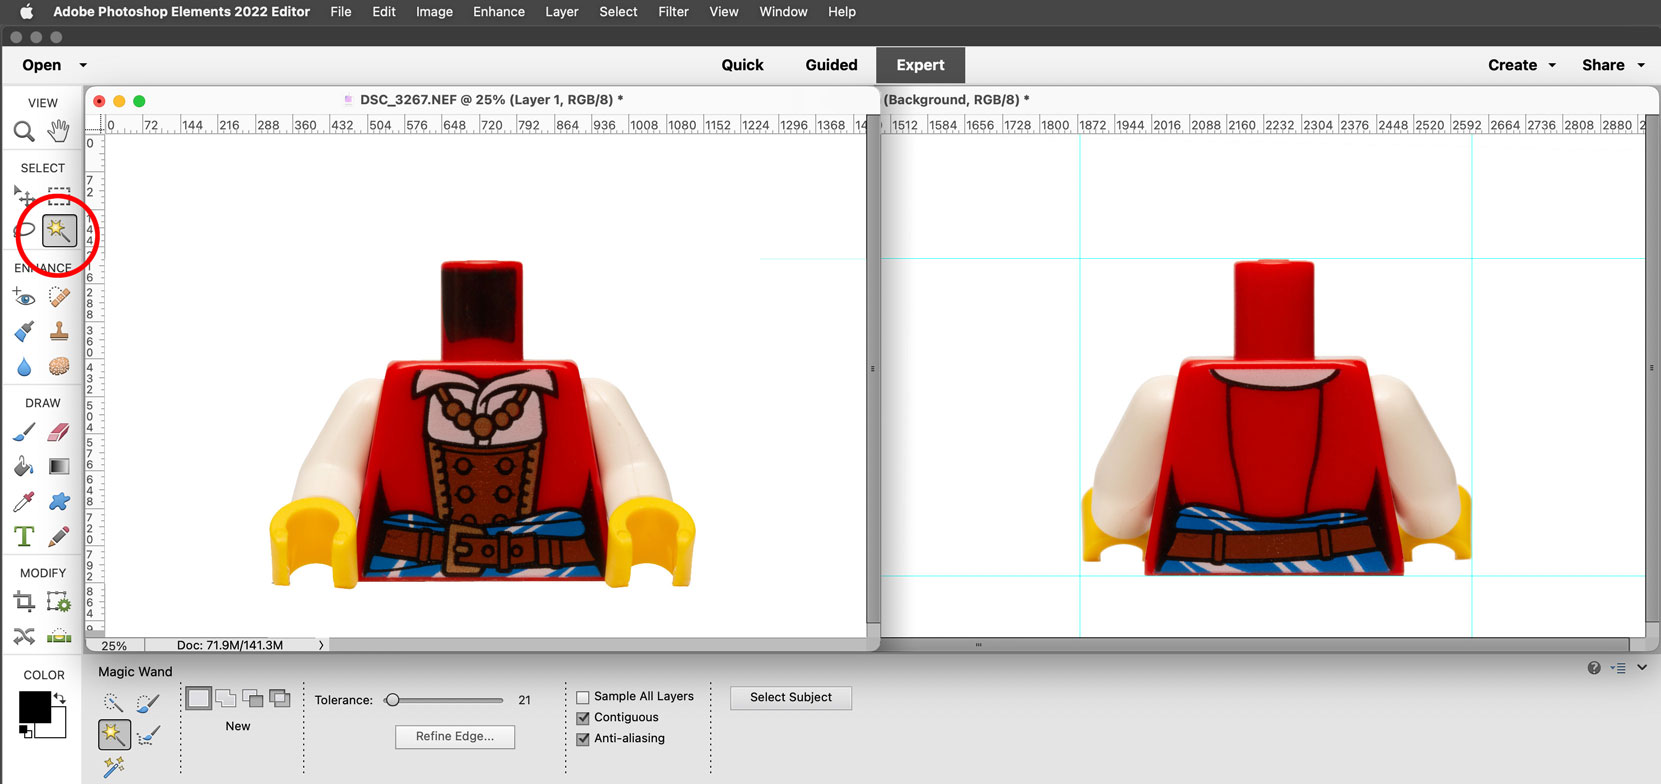
4. The magic wand tool was used to select the background of the image. In this example a Tolerance of 21 was used. Note that because some of the white on the arms value-matches the background color and is within the 21 Tolerance value that parts of the arms also get selected. The feather-layer-fillwhite action was then played. This feathers the selection by 2 pixels, creates a new layer, and fills it with white. If your torso isn’t white, then you probably will get a clean selection at this step and all you will need do is paint in any dust specks or shadow that may appear outside the torso. You can effectively then jump to step 10.
5. Whitelayer opacity is then turned to 20%.
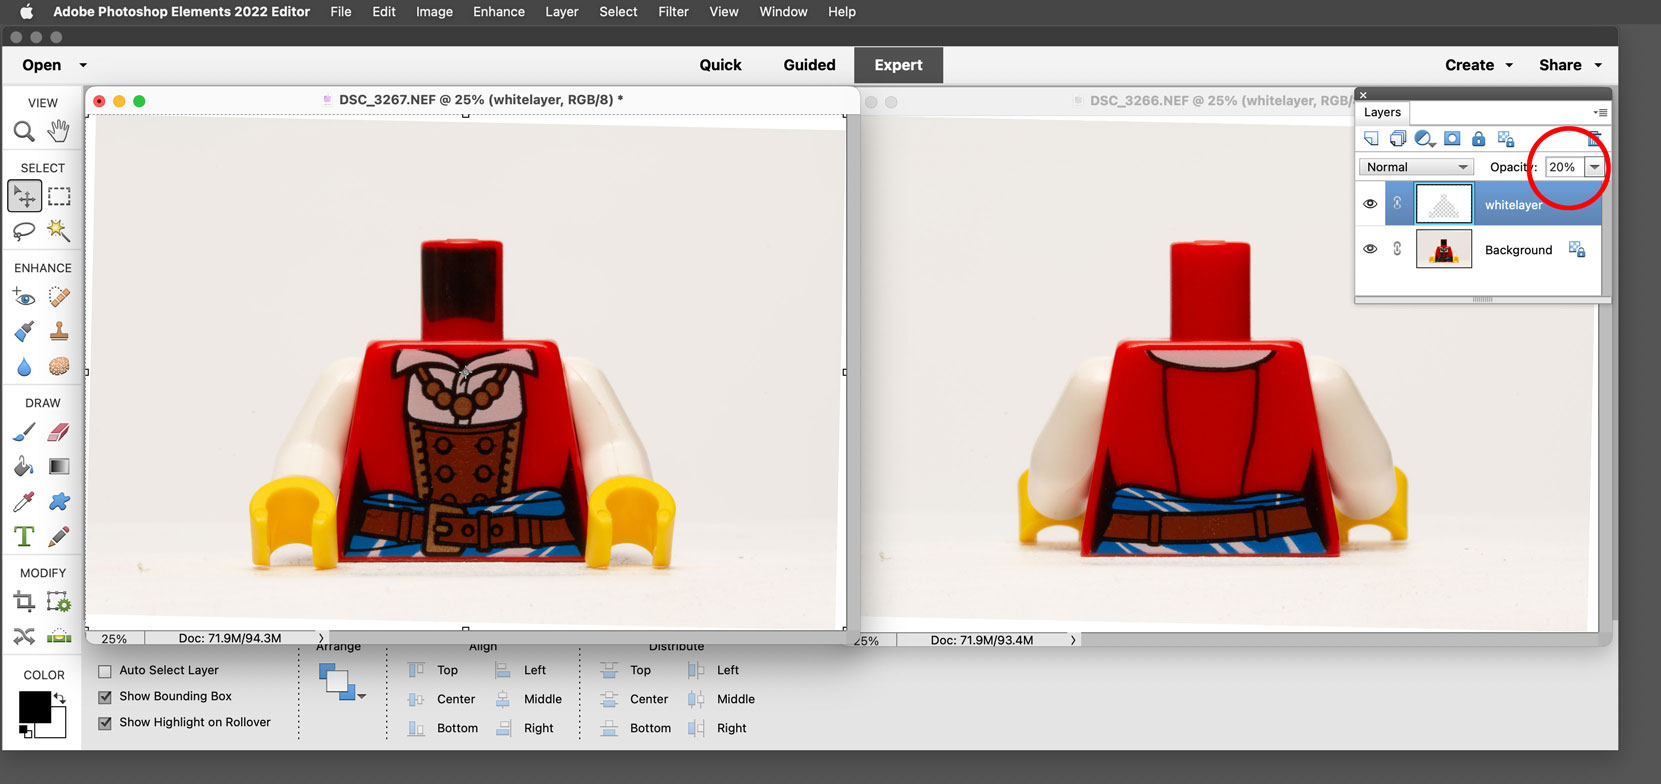
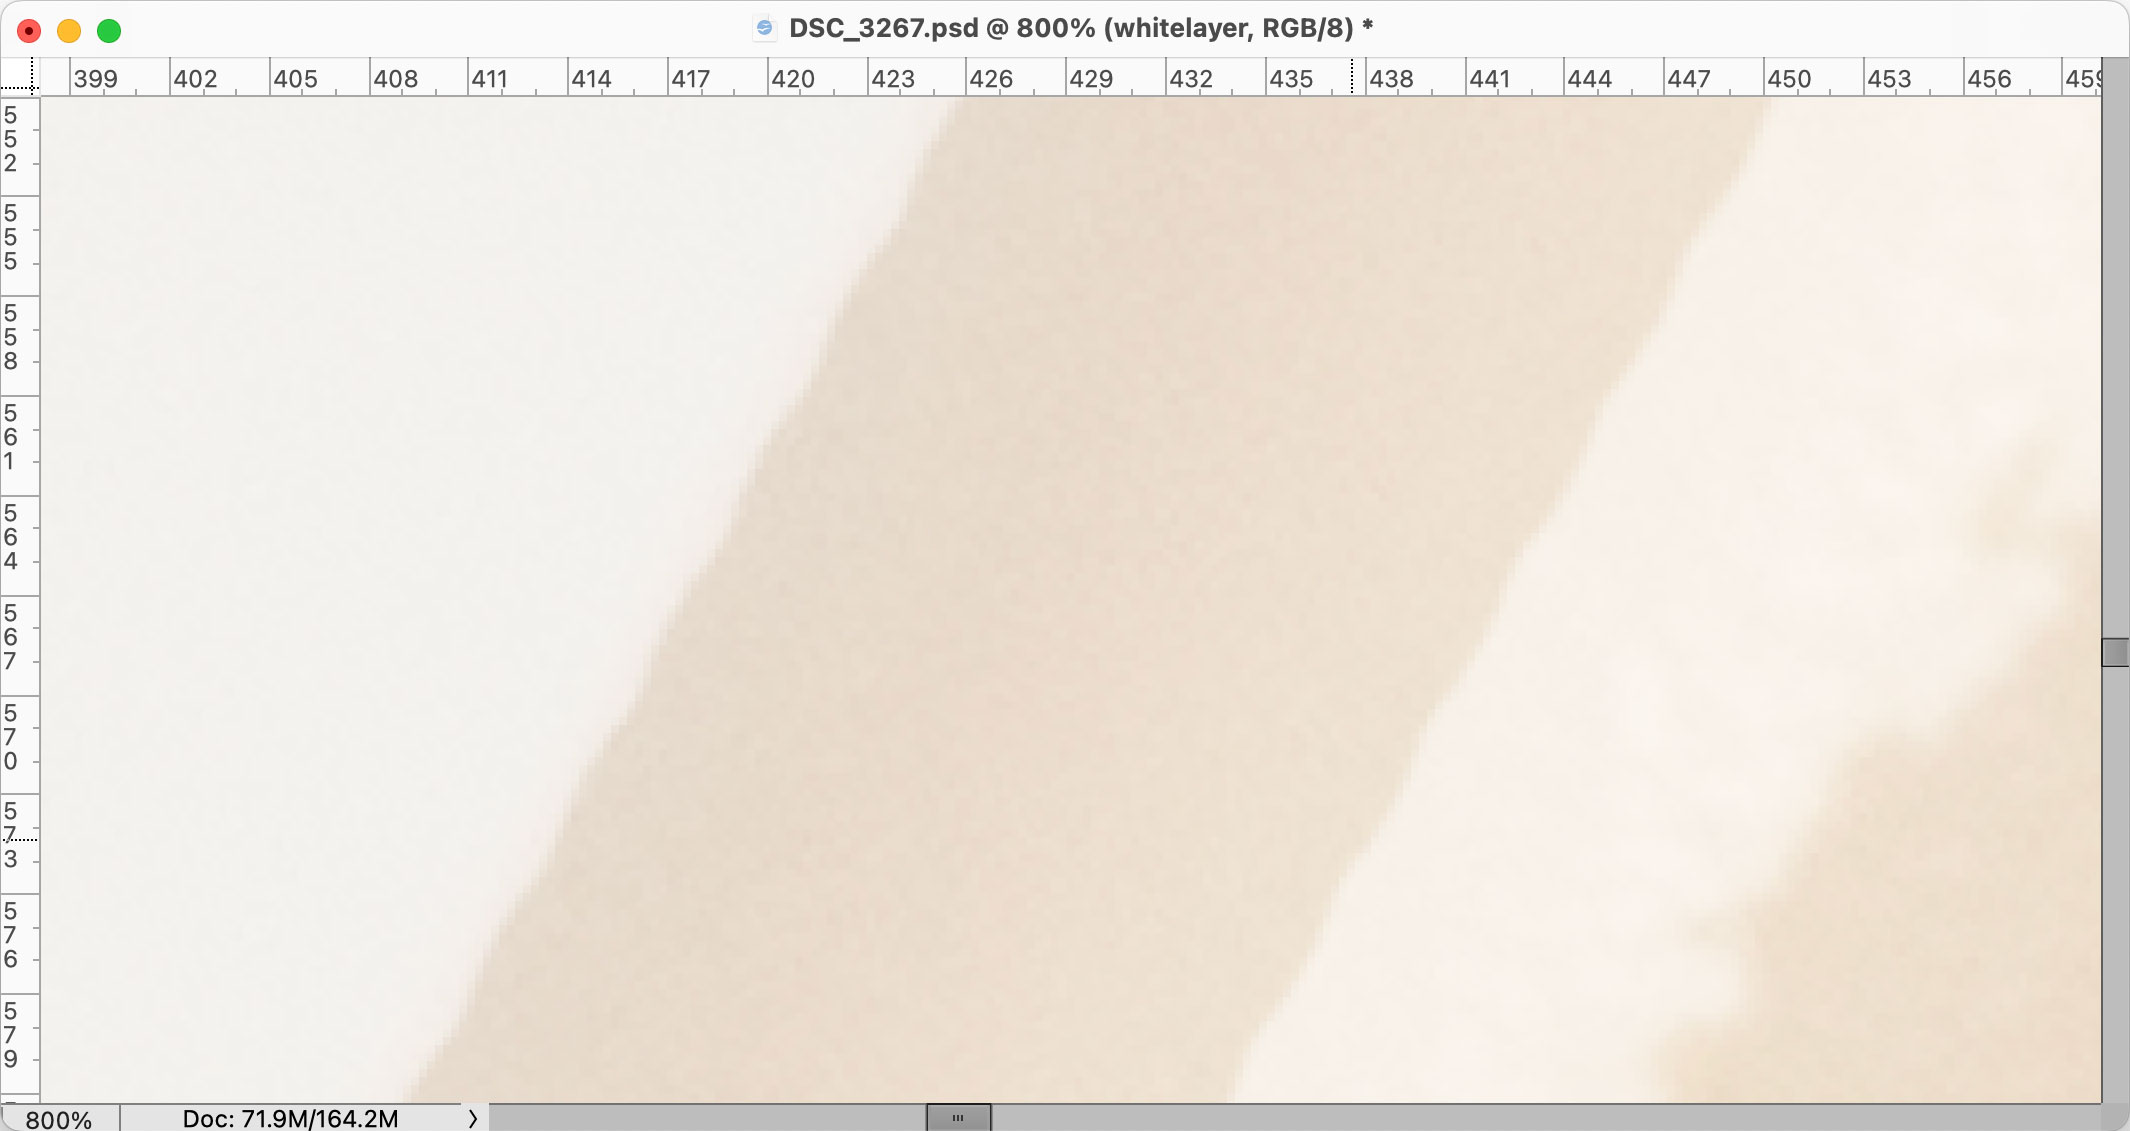
6. The intent at this point was to erase the white area which overlaps the torso on the whitelayer. As Photoshop Elements eraser doesn't allow spacing adjustment, a “smooth straight line” erase cannot be achieved by clicking in one spot with the eraser then moving the eraser to a second point and shift clicking. Instead we get a “lumpy” erase. The picture below is a closeup of the erase. Note the wavy line edges.
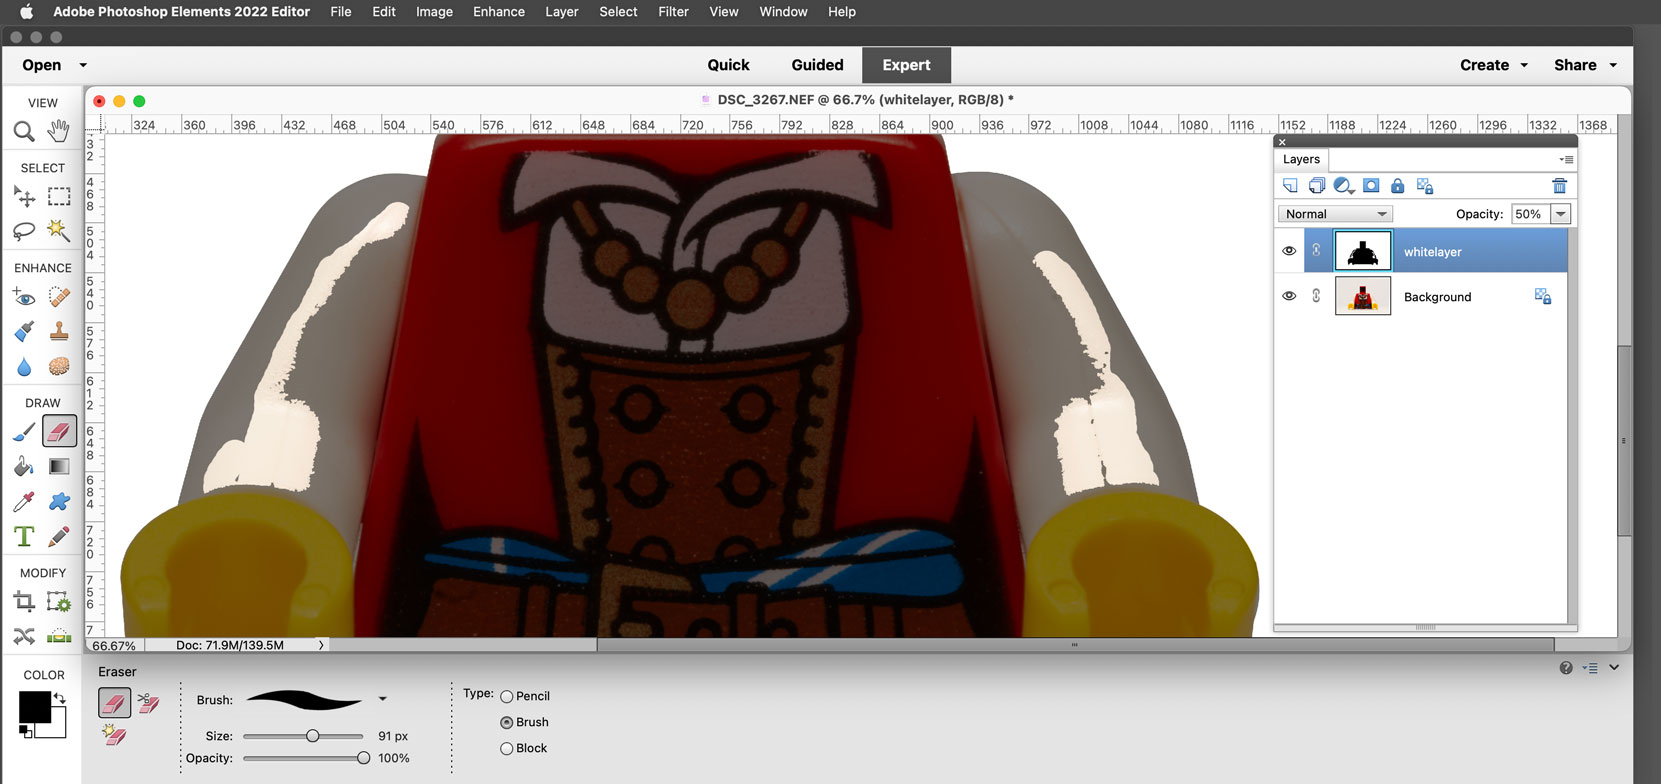
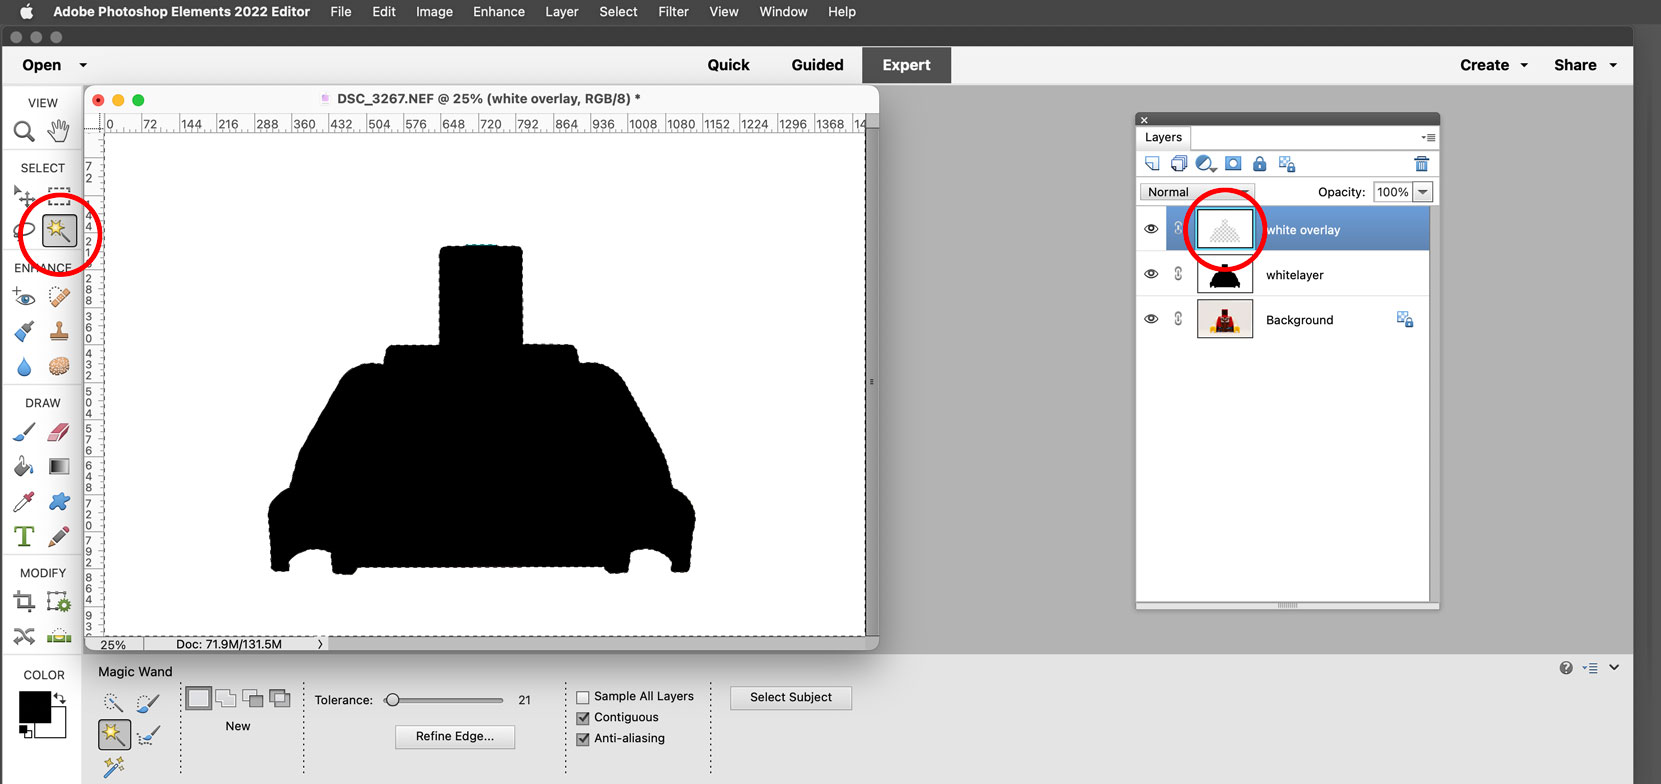
7. The background is instead filled with white and the torso is overpainted with black on the whitelayer. This gives us a clean silhouette, and we won't have lumpy arm lines in our final image. This process is done on both the front and back images.
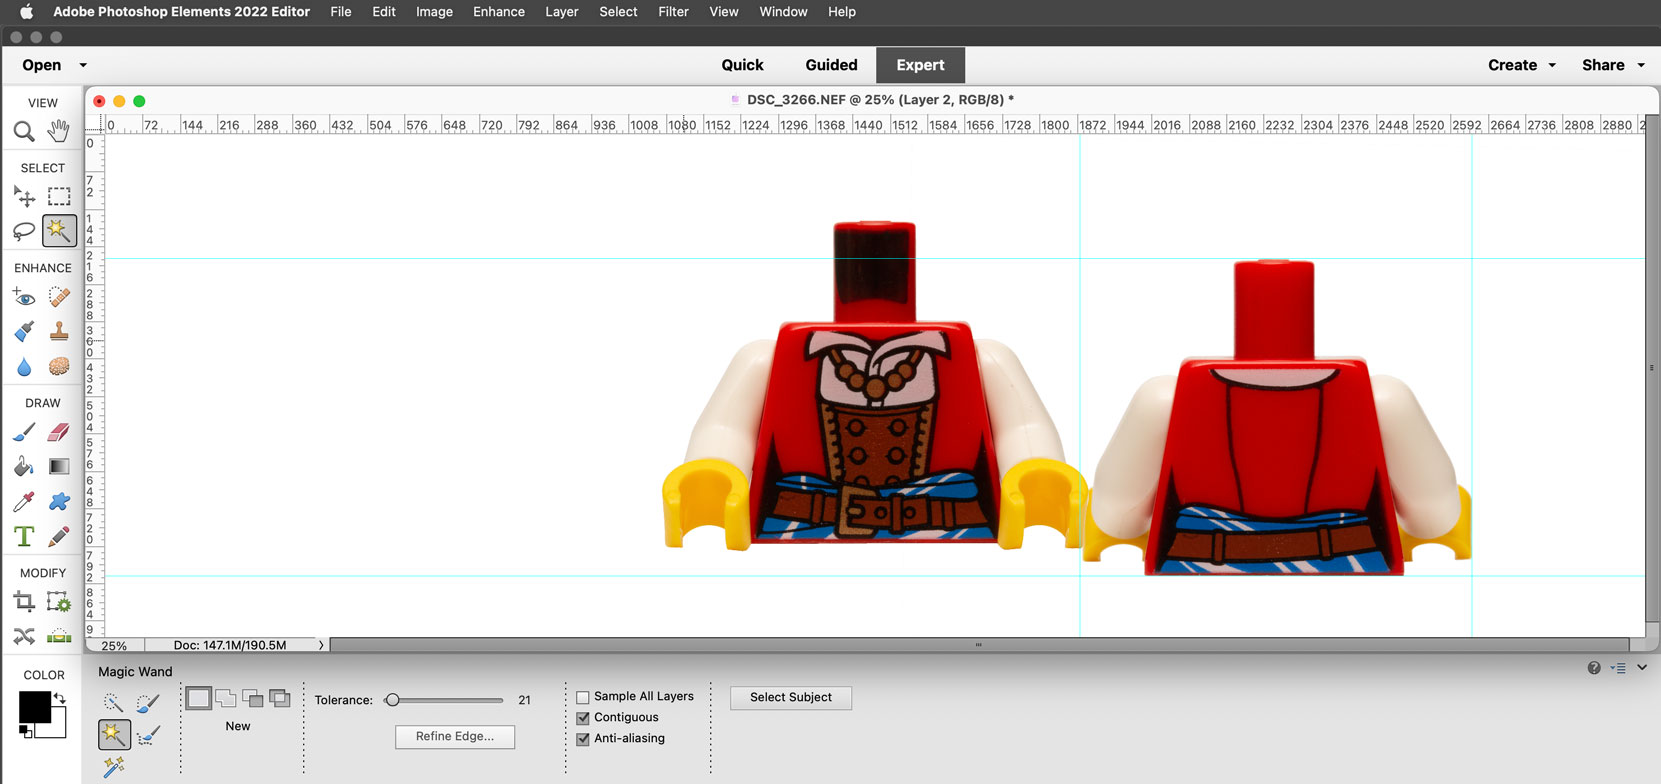
8. The opacity is set to 100% on whitelayer.
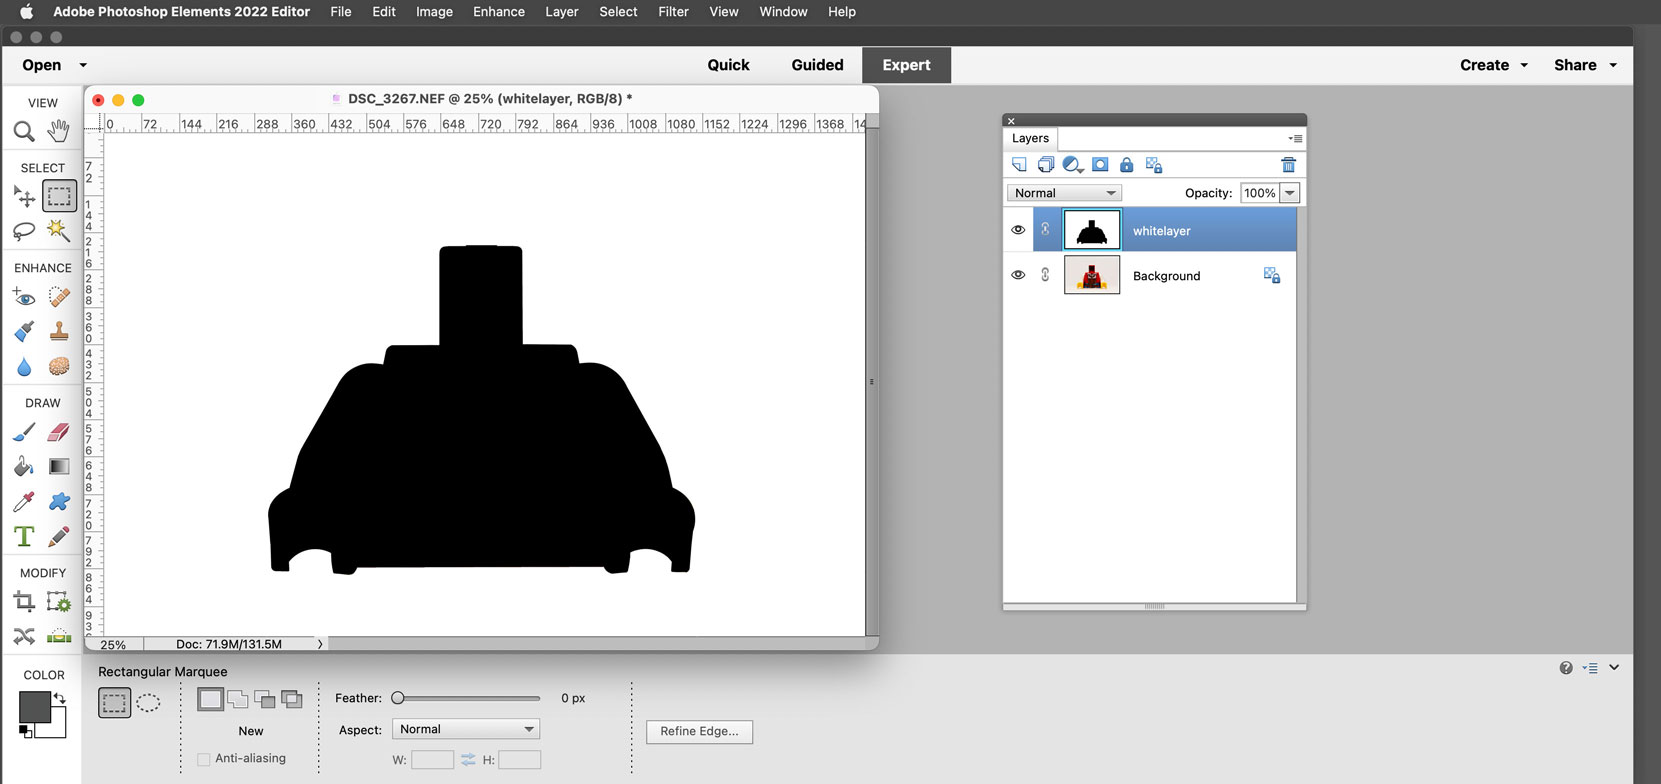
9. The white area is selected on whitelayer with the magic wand tool. A new layer is created and filled with white. The whitelayer with black silhouette is then hidden by clicking the eye icon next to it. This is done on both front and back images. If desired you can merge the white overlay layer with the Background layer. I did this with the back image.
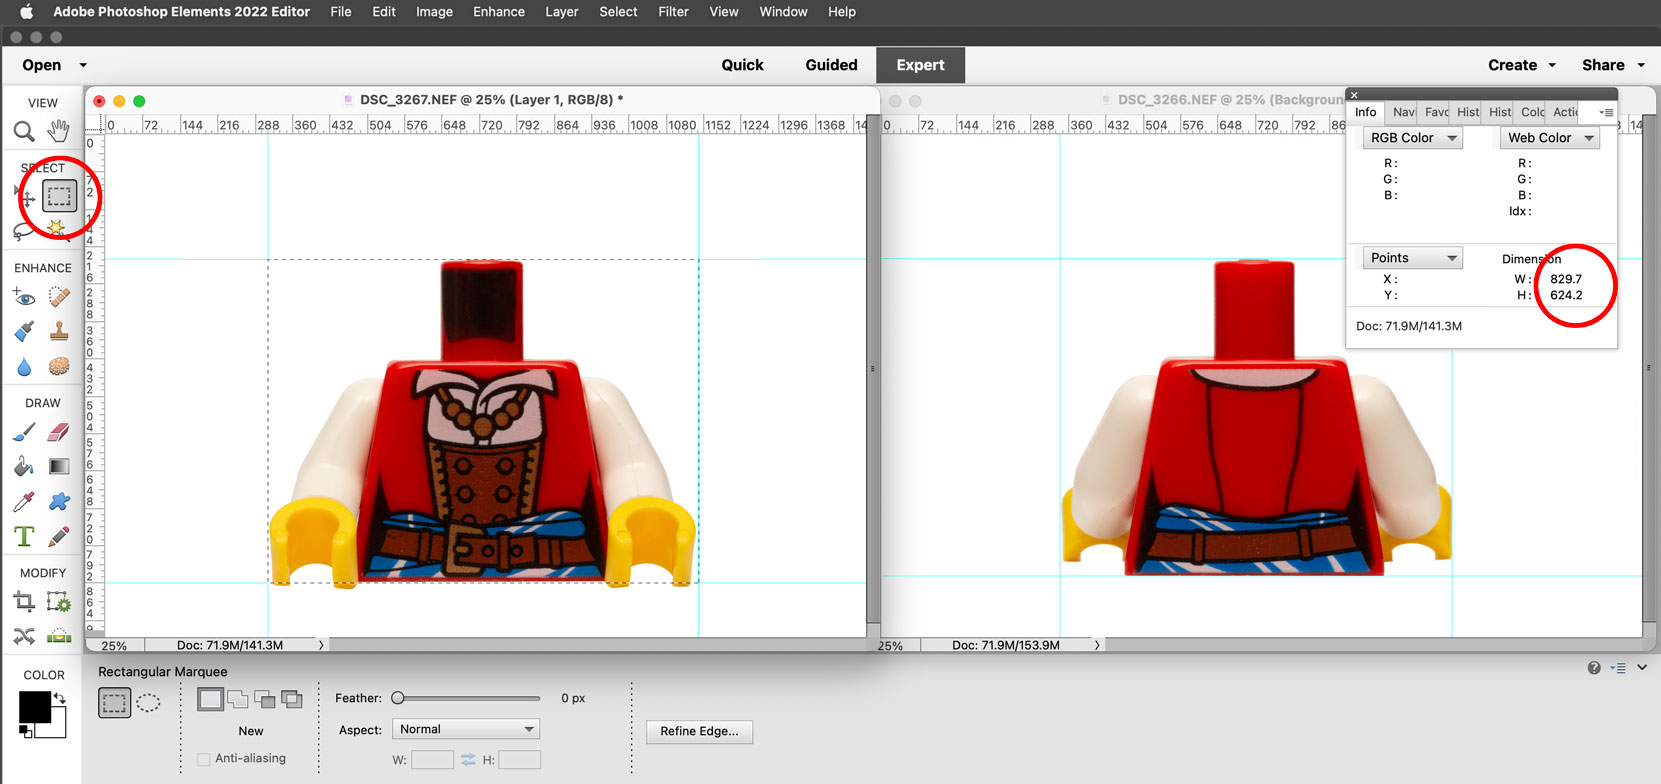
10. Guides are pulled in to touch the bounds of the torso on all four sides. Note the bottom guide on the front is set at the bottom of the torso and not the bottom of the hands. We want to get a height reading on the torso itself. A marquee is drawn snapped to the guides and dimensions are noted.
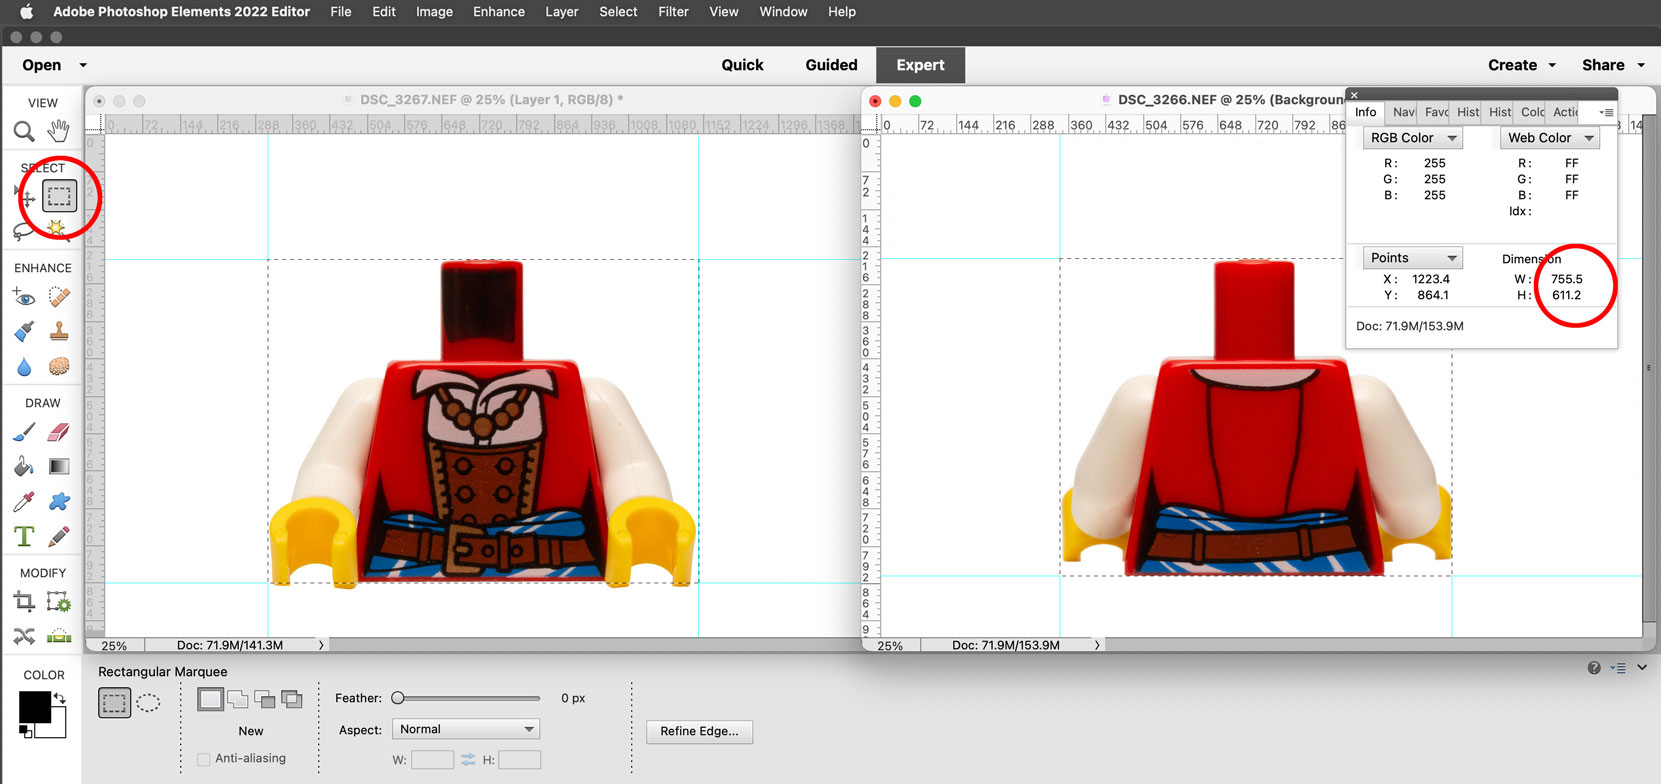
11. We note that the front torso’s height is slightly larger than the back torso’s height. We will plan to copy the front torso into the image of the back torso, then adjust the height so the front and back match. We are moving the front to the back because the front is larger.
12. Selecting the window for the back torso, we get the canvas size dialog box and double the width. We put the anchor on the right side because we want the front torso to appear on the left when we are finished. The canvas extension color is set to Background in this instance because our background color is white. Alternately the background color can be specifically set to white using the popup.
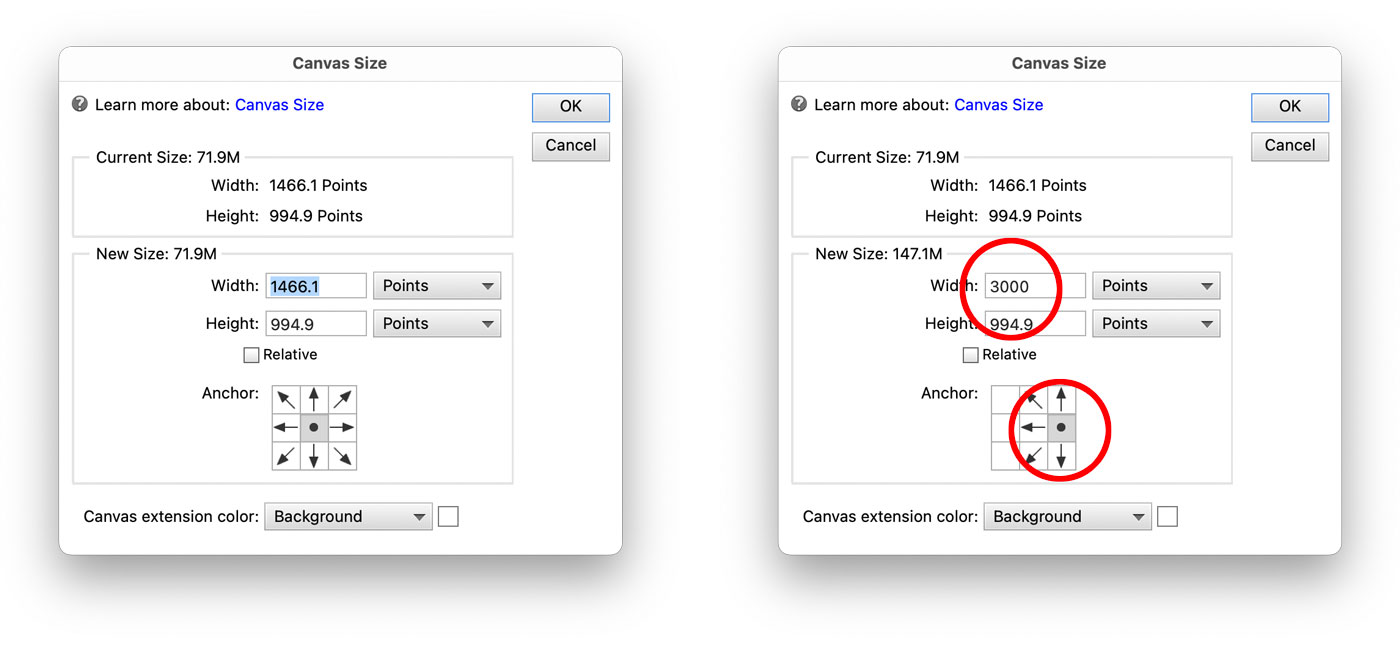
13. The width of the back torso image is now doubled.

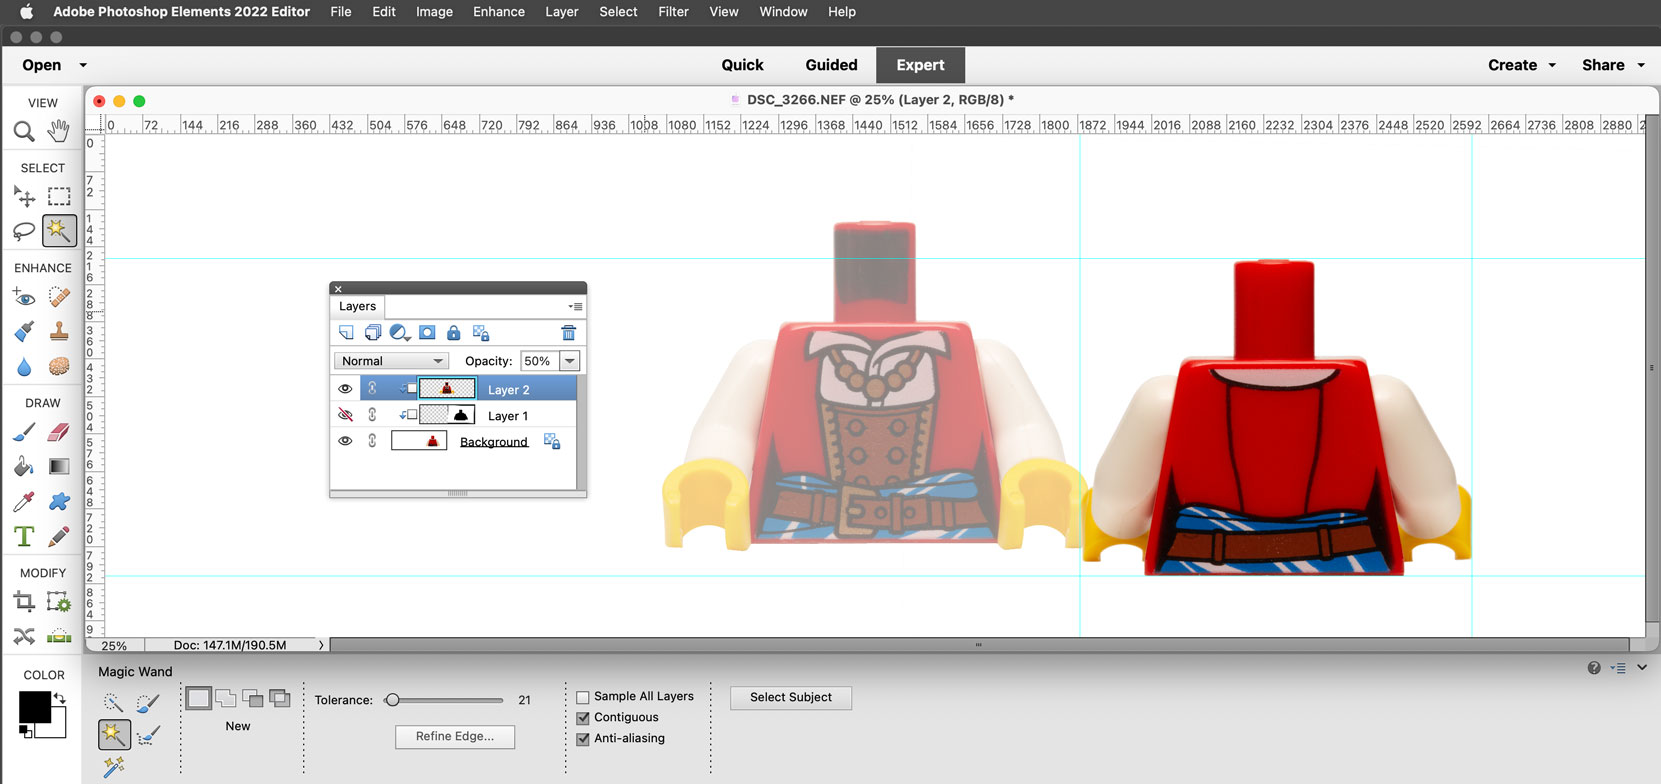
14. Selecting the window for the front torso, we use the magic wand tool to select the white around the torso on the white overlay layer. We then select the inverse and copy merged.
15. Selecting the window for the back torso, we paste.
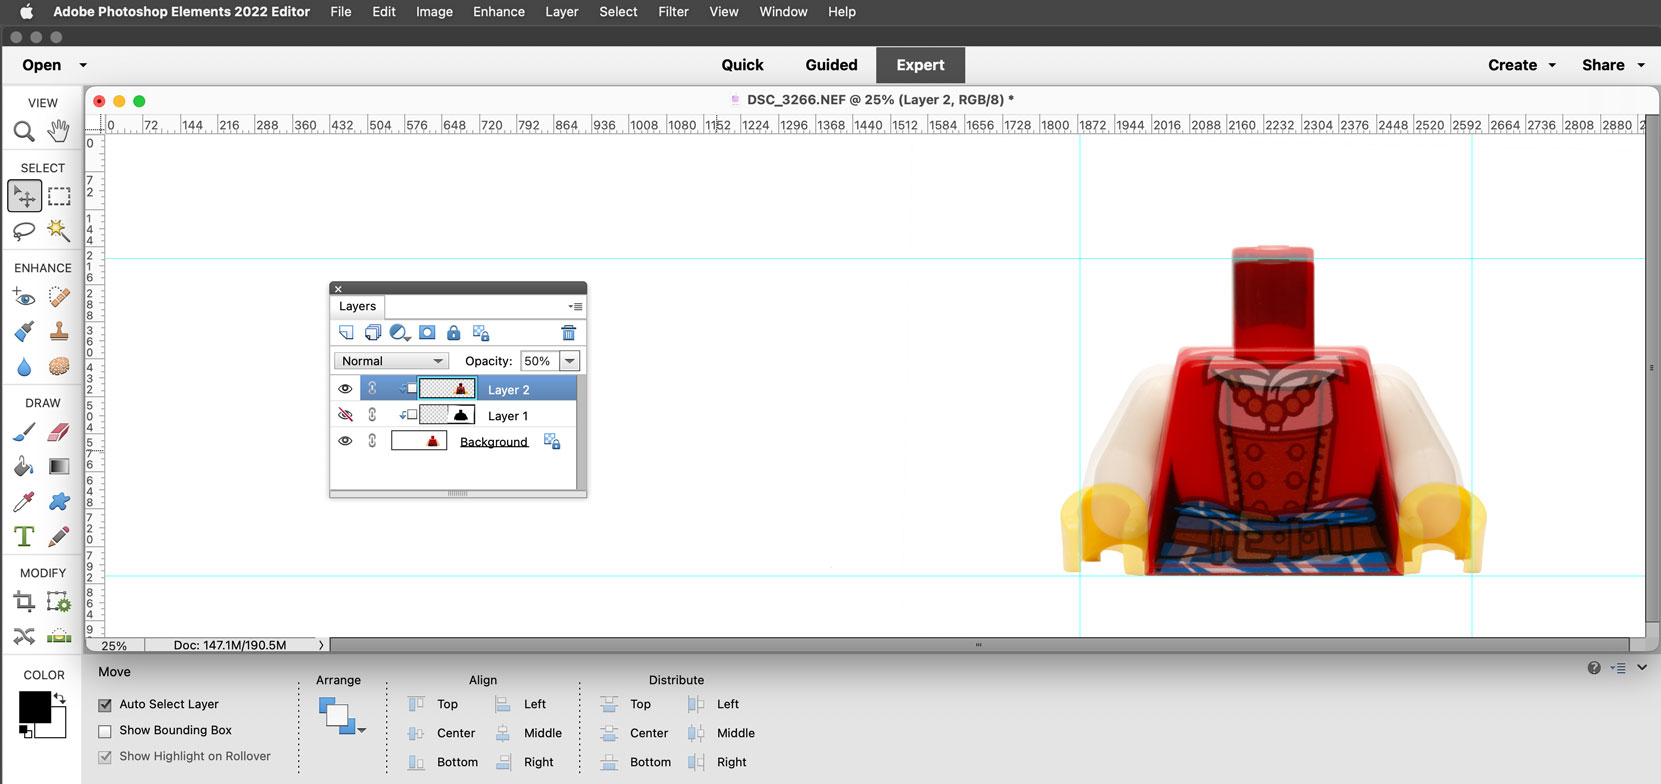
16. The opacity of the front layer is reduced.
17. The front torso is positioned over the back torso.
18. The recompose tool is selected.

19. Holding the shift key to constrain the proportions, the corner handles are adjusted to match the height of the front torso to the back torso, again noting the bottom of the front torso (and not the hands of the front torso) needs to align. When satisfied with the adjustment, click the checkmark to set.
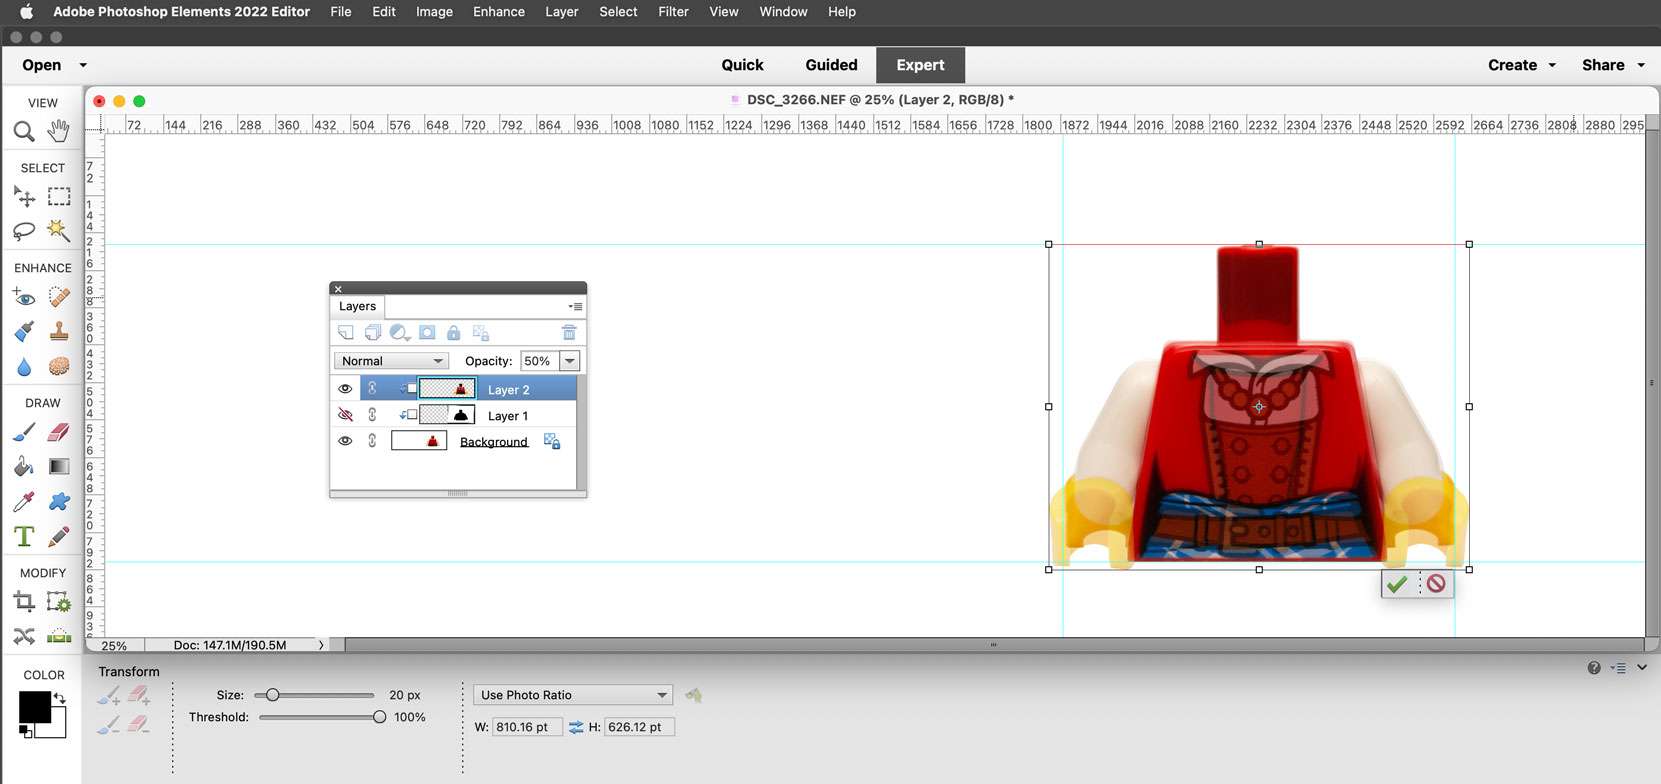
20. Using the move tool, hold down the shift key and drag the front torso to the left. Holding the shift key constrains the movement to a straight horizontal line.
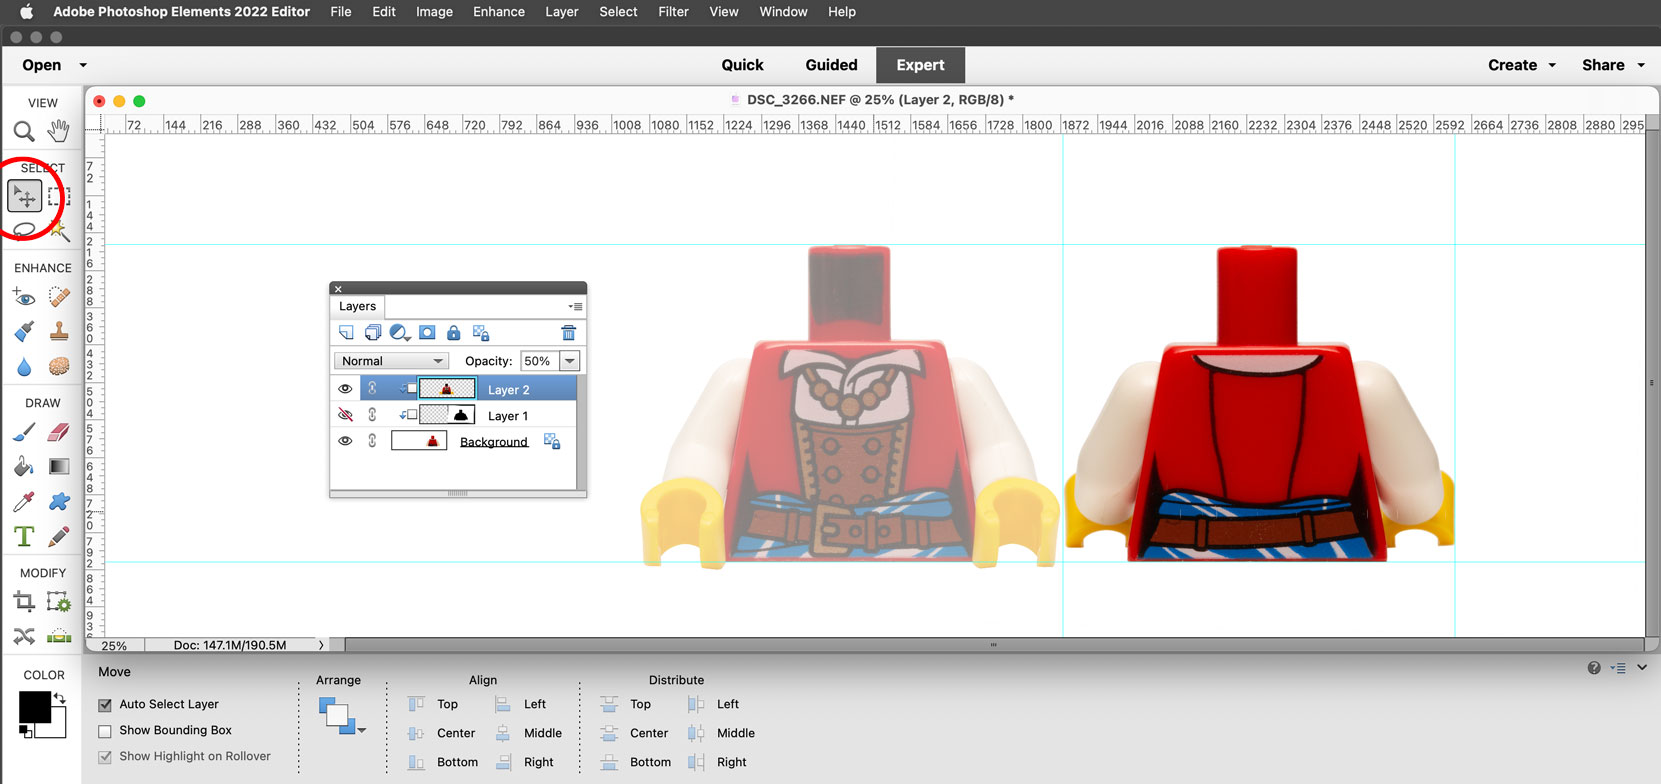
21. Set the opacity of the front torso layer to 100%.
22. Drag a guide in from the left to the left side of the front torso.
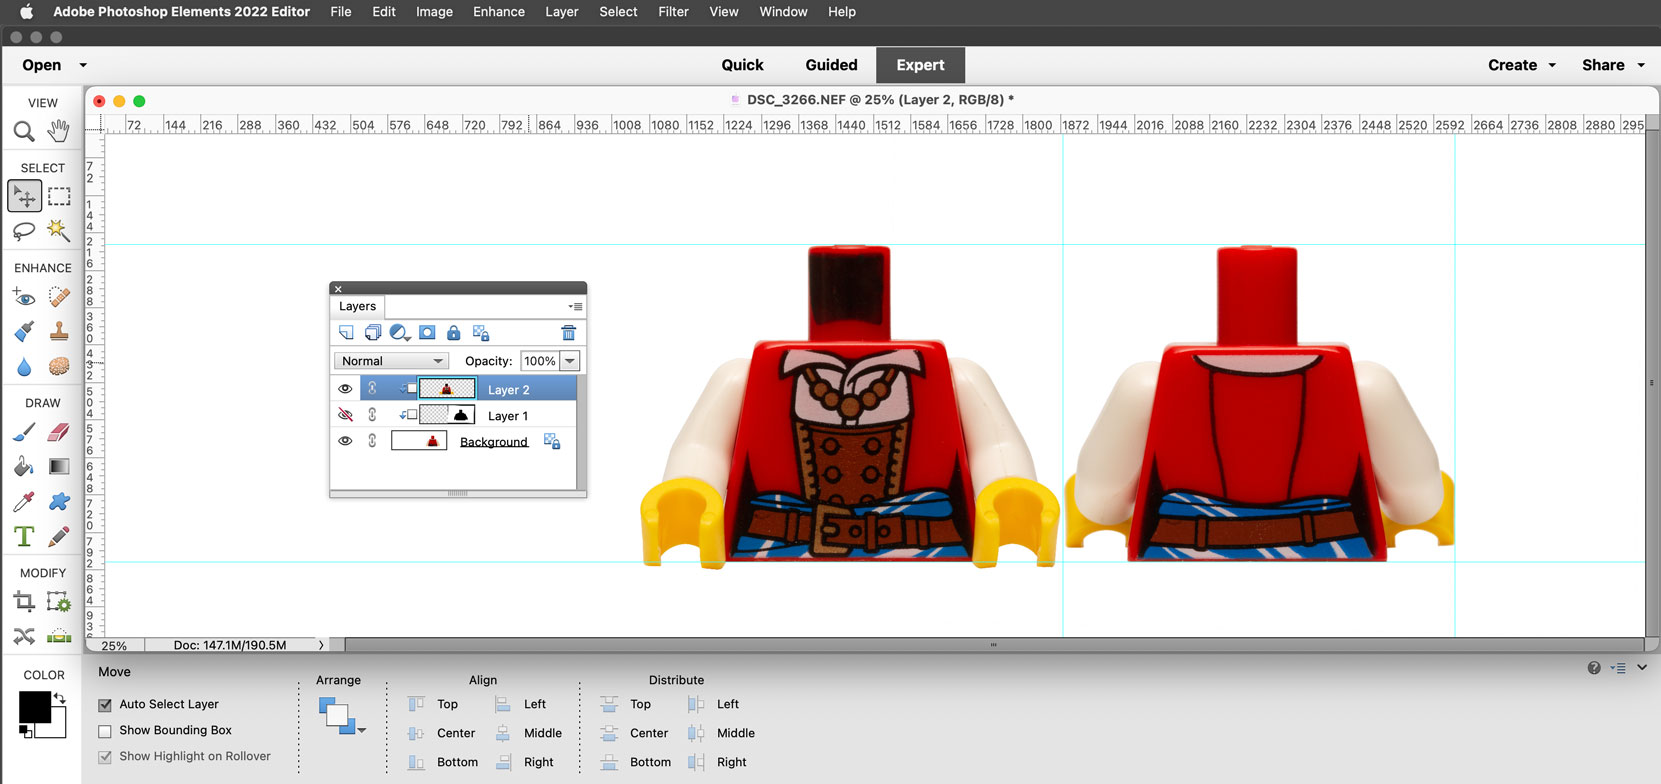
23. Using the crop tool and snapping to the guides, set a crop box to the guides bounding both torsos. DO NOT CROP.
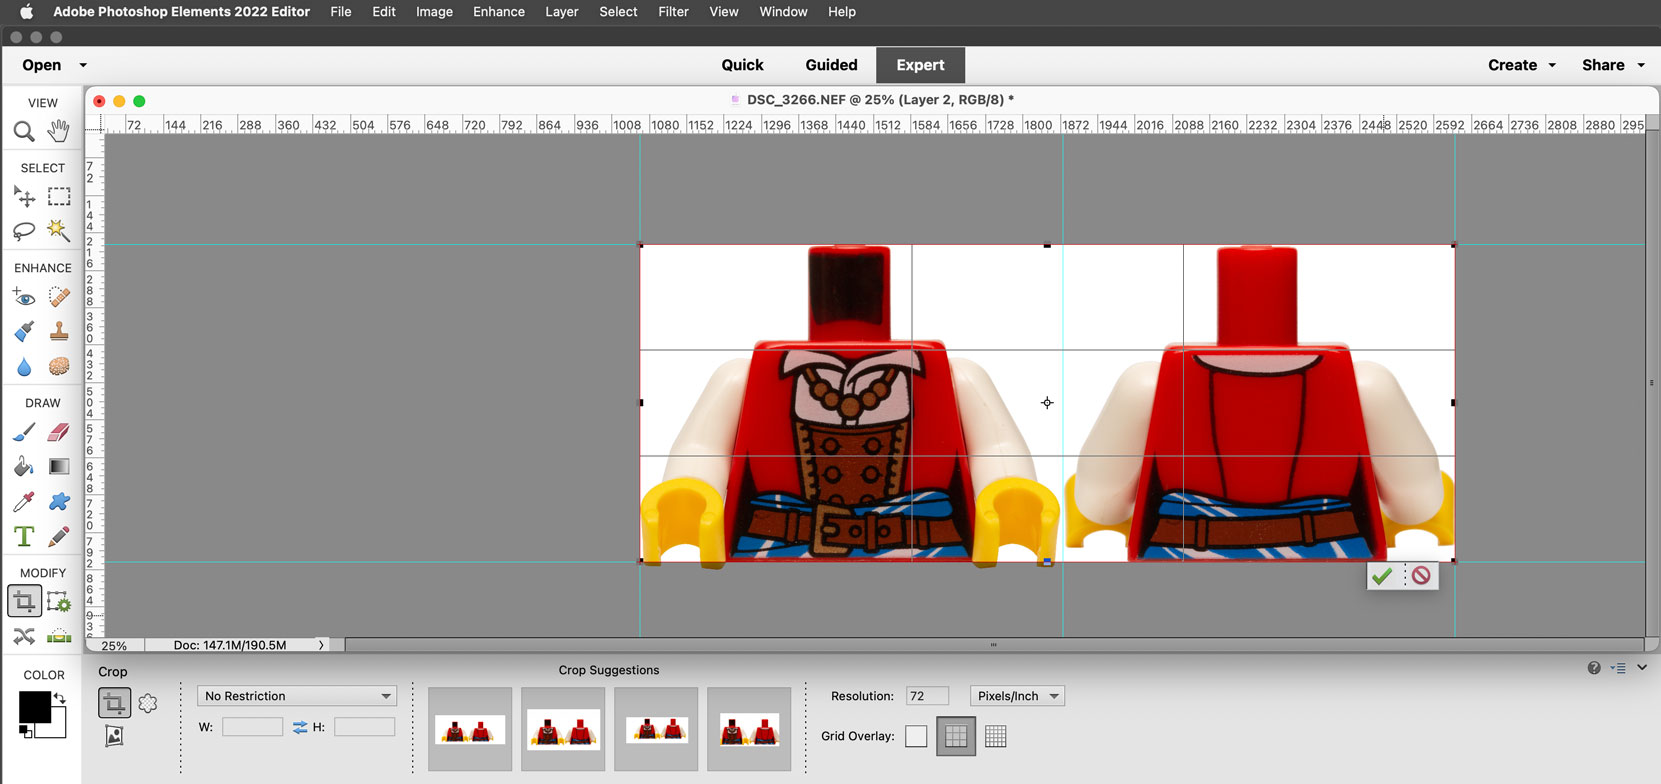
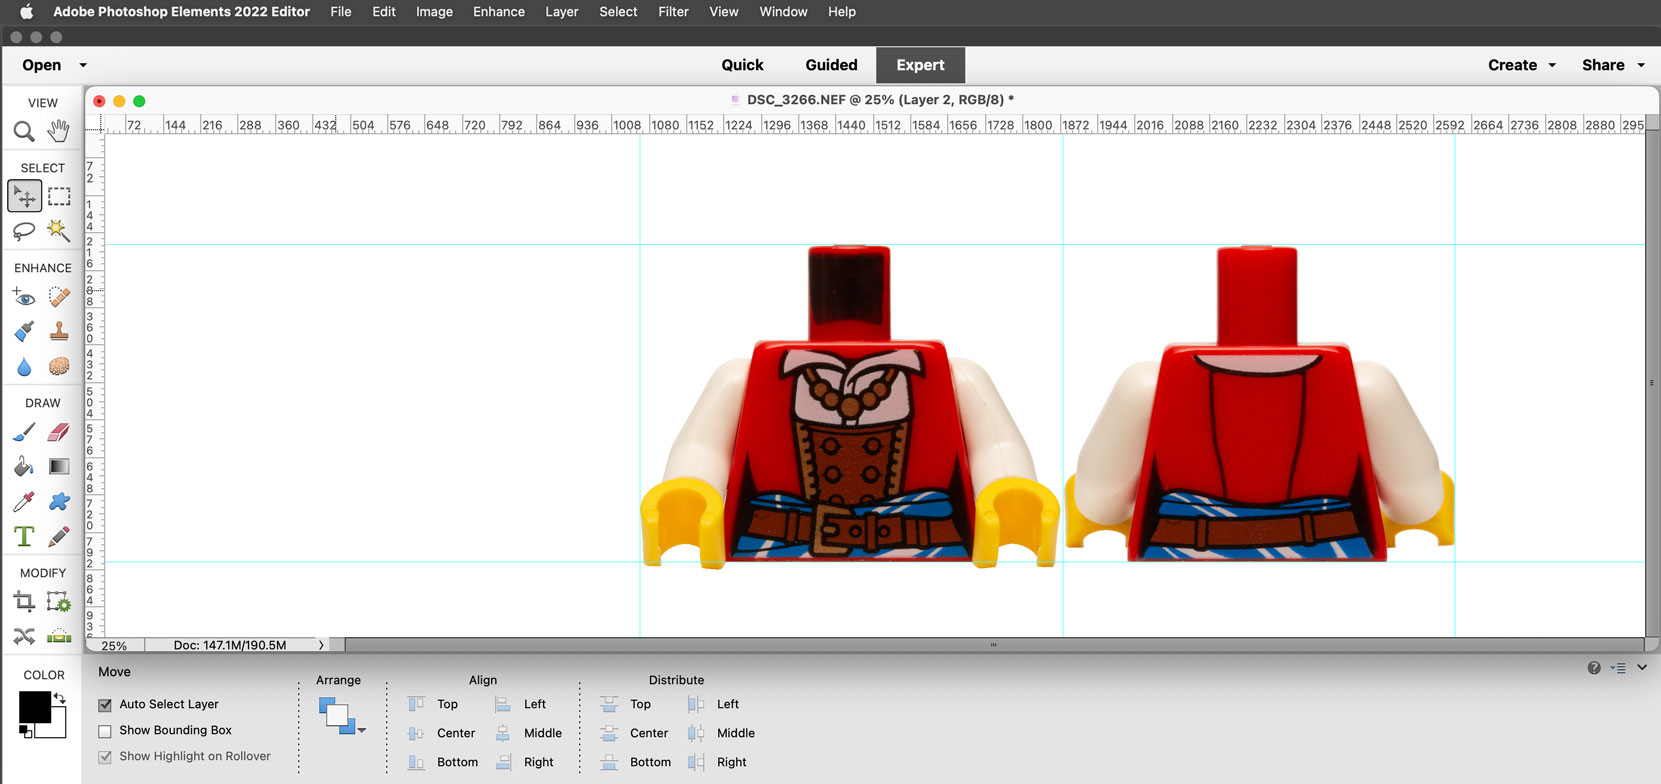
24. Drag a guide in from the left and snap it to the center point of the crop box. Drag a guide in from the top and snap it to the center point of the crop box.

25. Holding the option key, drag one corner of the crop box generously away from the torsos. Holding the option key anchors the center of the crop box. Click the checkmark to crop.
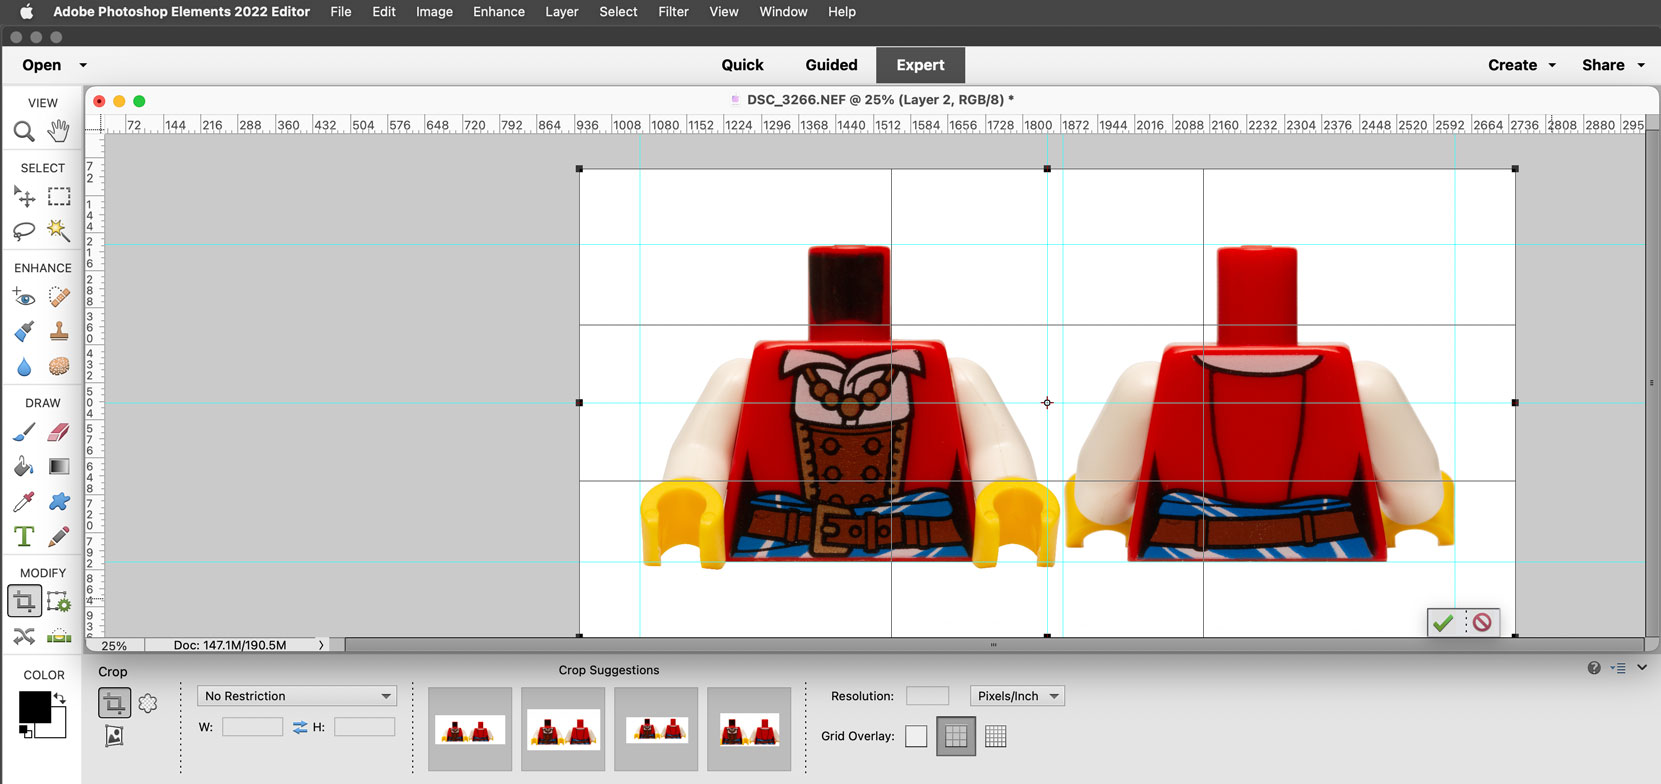
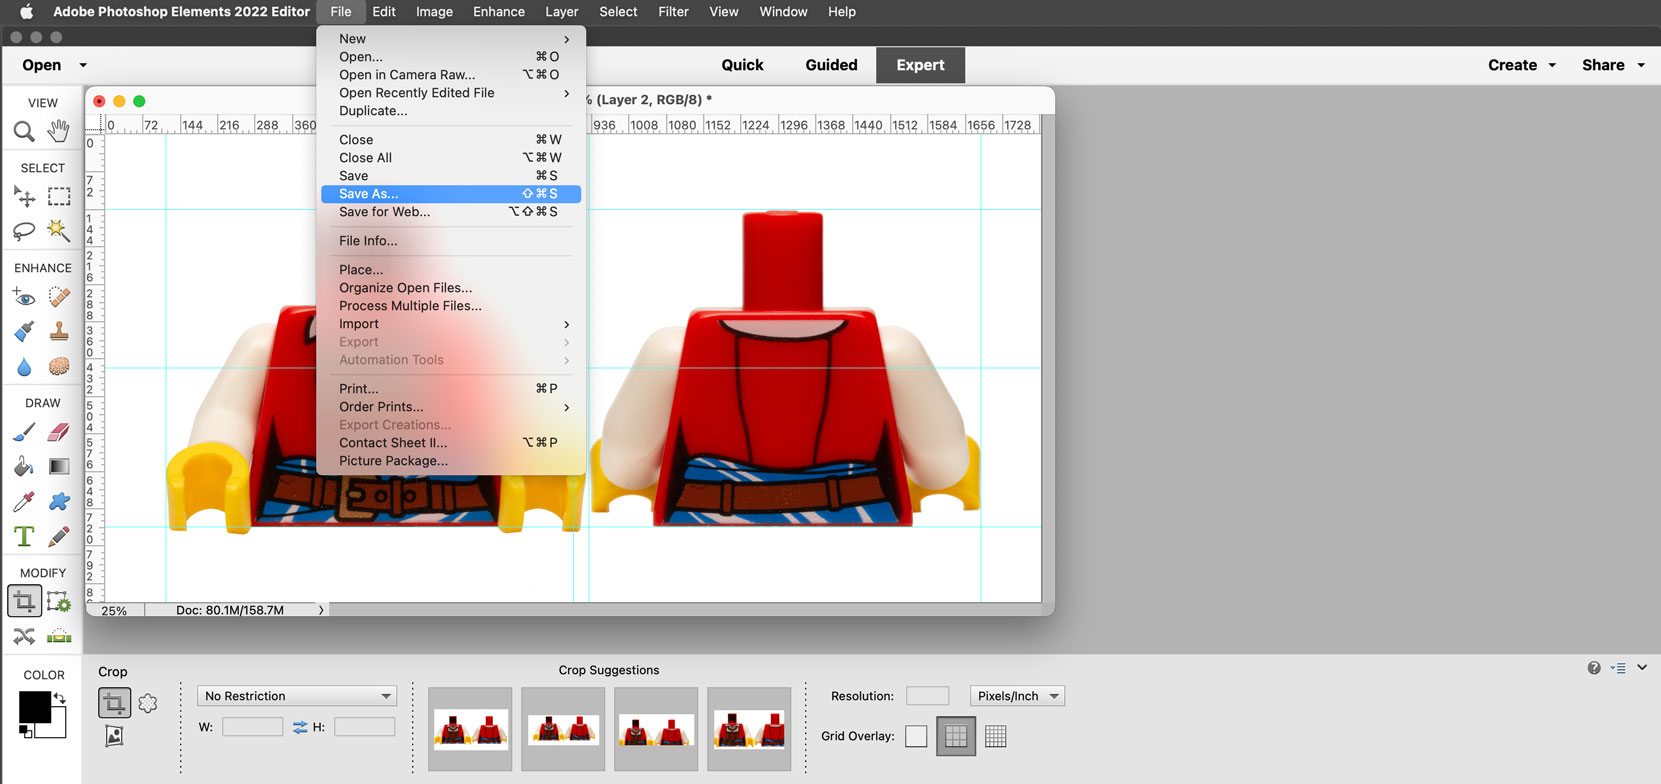
26. Save the file including layers.
27. Cropping to a fixed size. Chances are you will need to crop to a fixed size. Select the crop tool and set the crop dimensions to the desired size and set the resolution to 72 pixels per inch. You should also reduce the image within the picture window because chances are you may need to crop to an area beyond the current margins of your picture. In this example we will use 800 pixels wide by 600 pixels high.
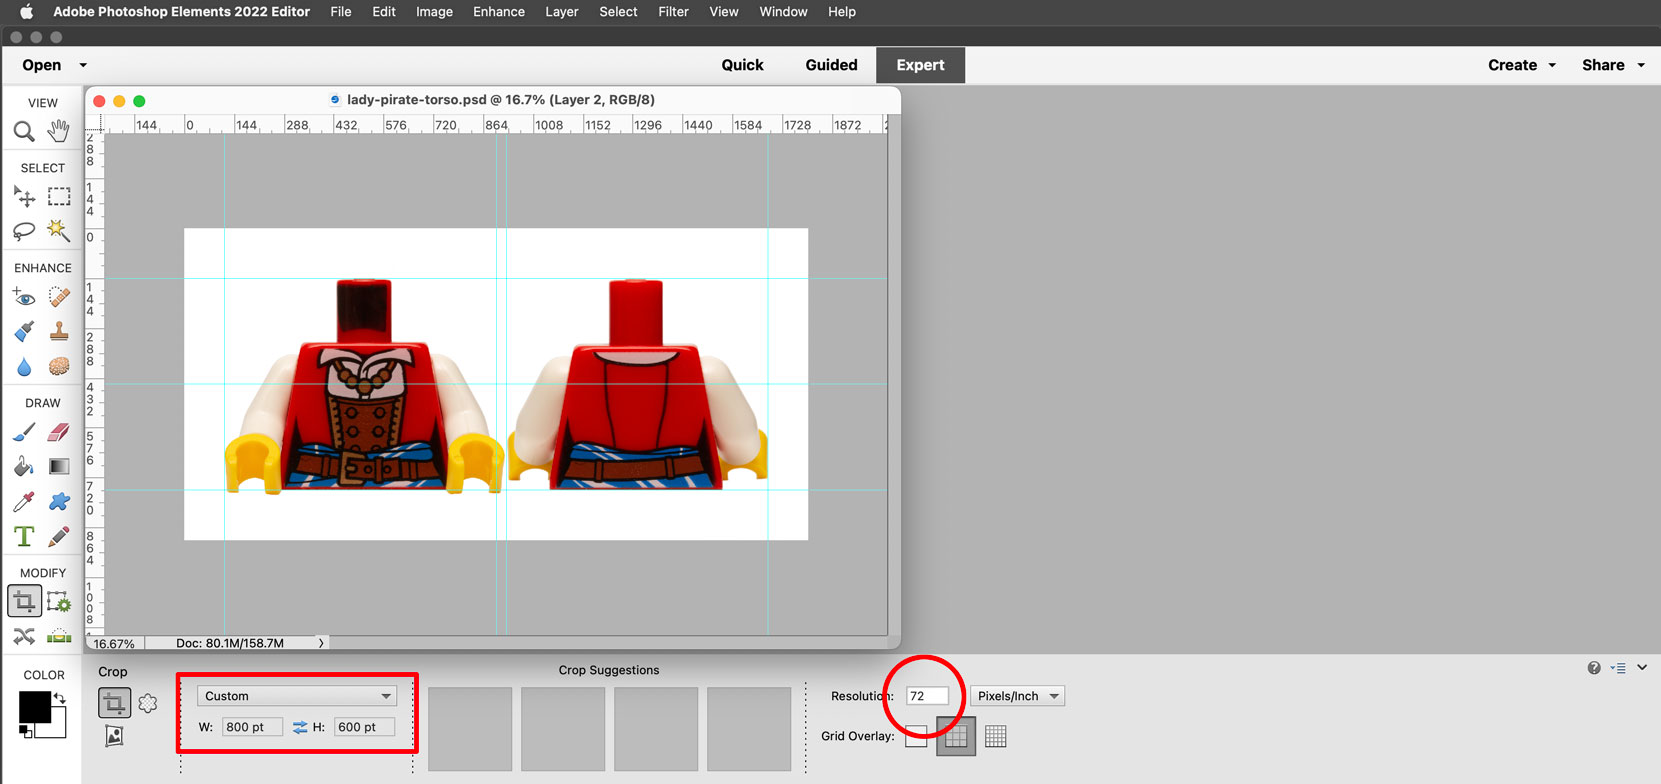
28. With the crop tool, center the crop box on your previously established center point for the image. Hold the option key to anchor the crop box to the center point. Drag the crop box past the edge of the picture boundary. Make sure you have your background color still set to white.
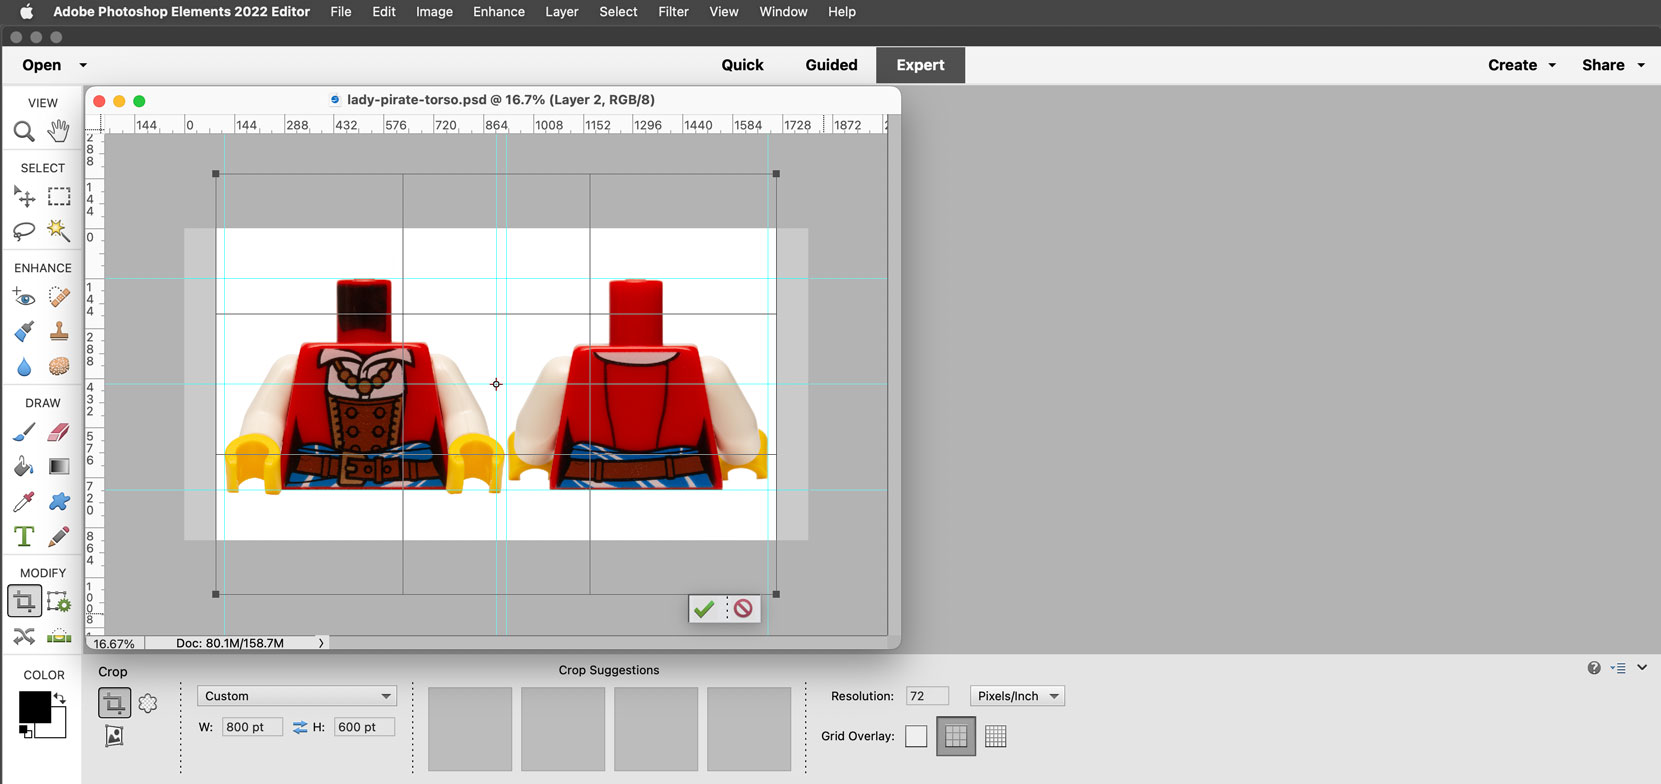
29. Crop by clicking the checkmark.
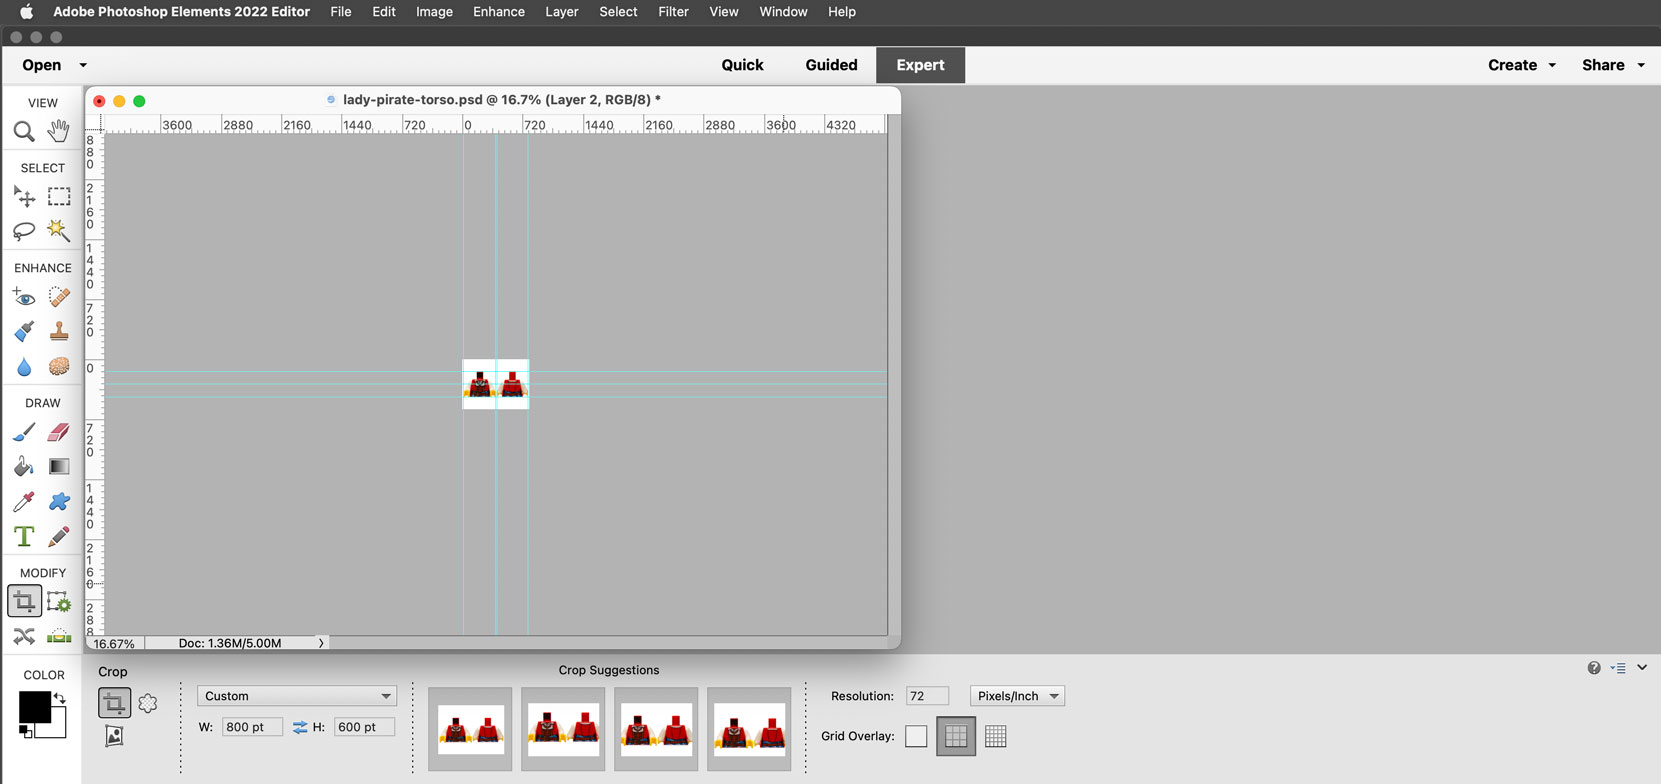
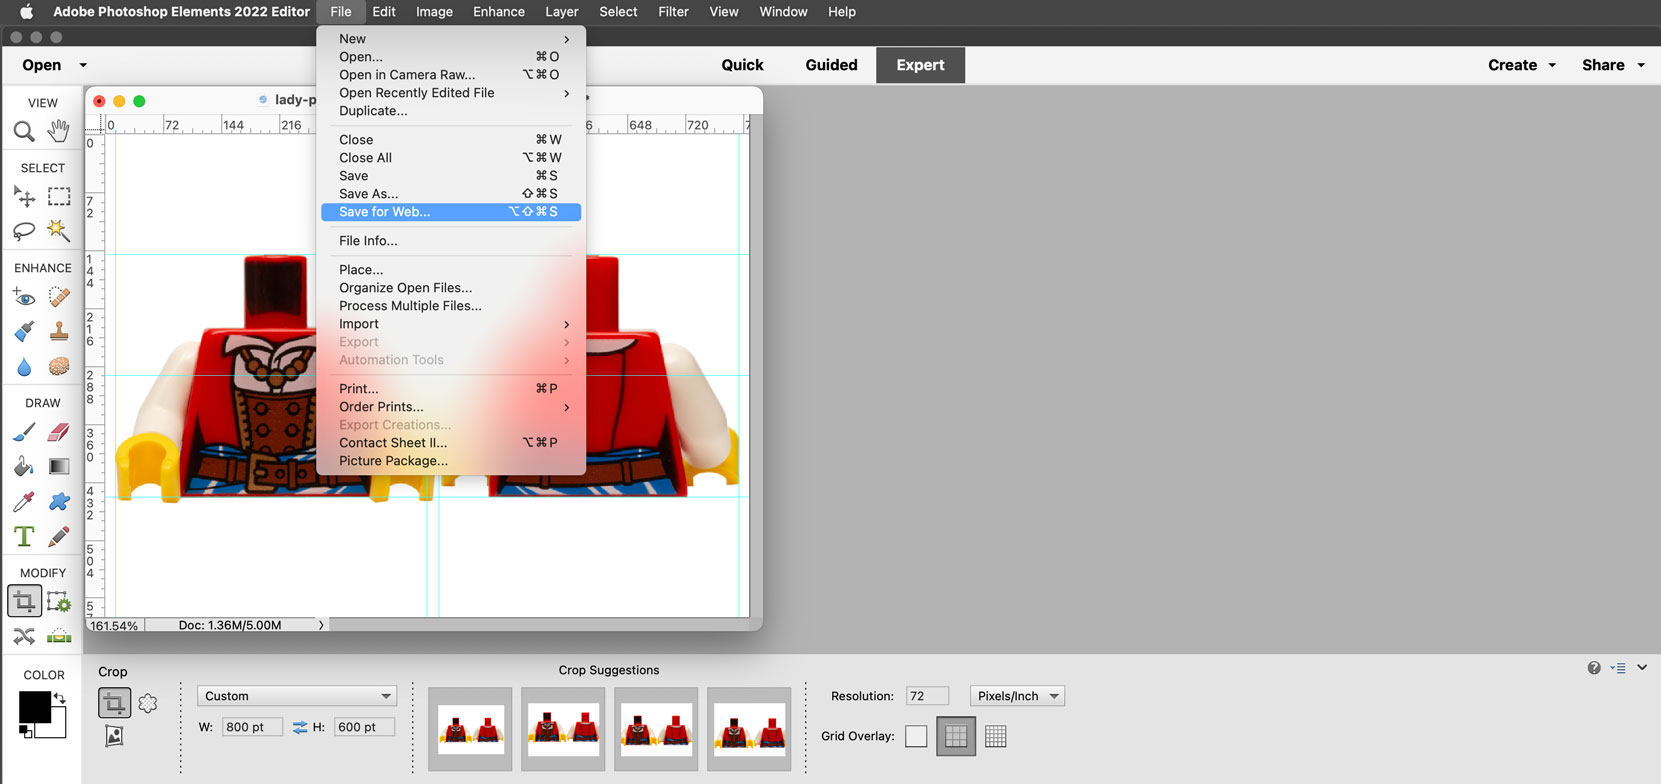
30. Command-0 (zero) to resize the window. Make sure you are satisfied with the results. Save for web.
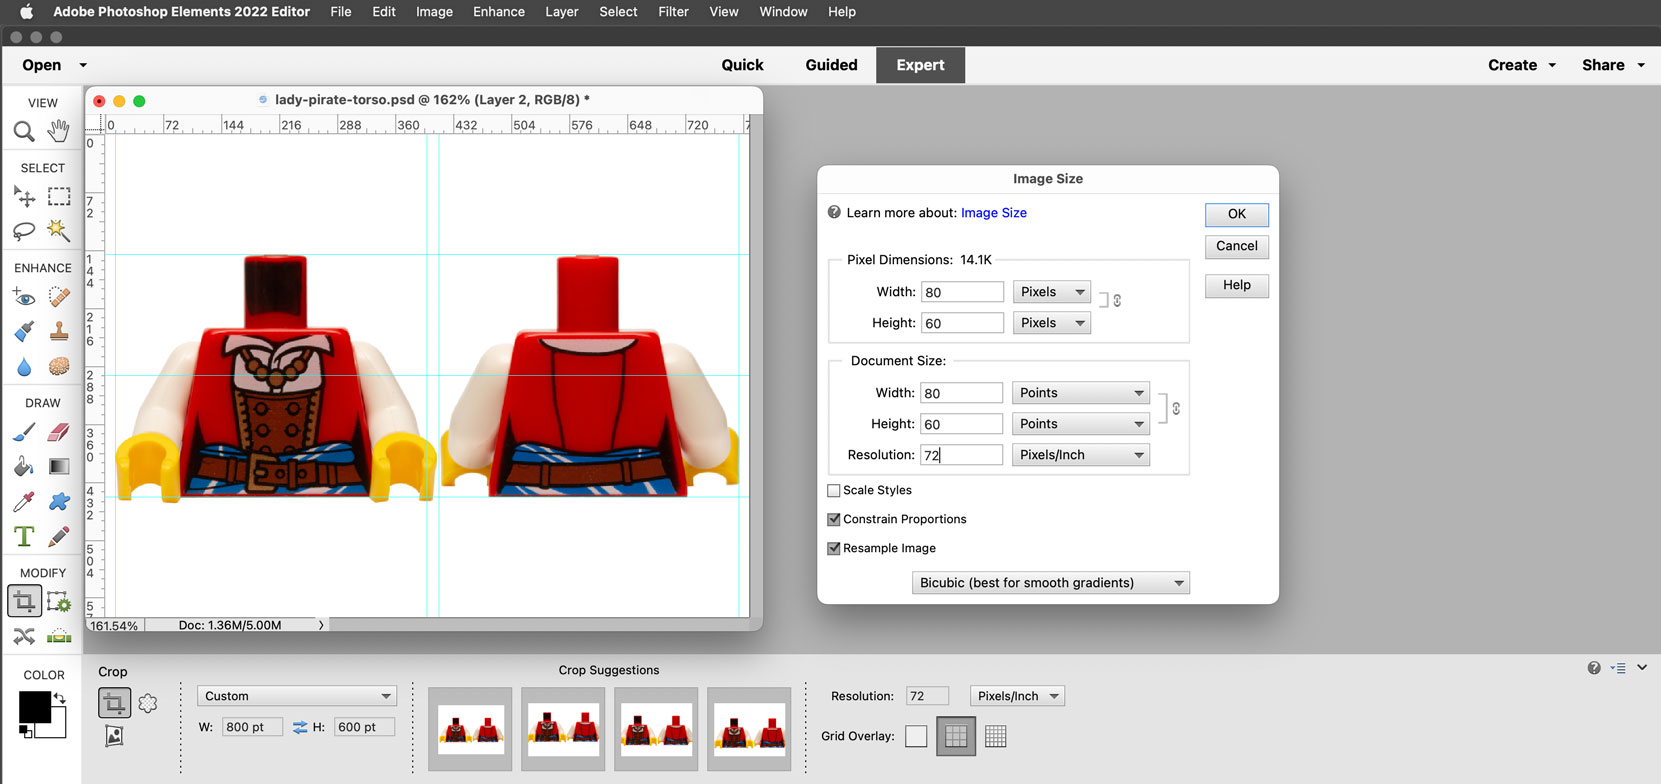
31. Open the Image Size dialog and set the dimensions for the thumbnail if needed. In this example we use 80 pixels wide by 60 pixels high. This example supposes that the main image and the thumbnail have the same ratio. If they do not, repeat steps 27-30 with the thumbnail dimensions.
32. Save for web. Close the window; when Photoshop asks you to save changes DO NOT SAVE CHANGES. This will keep your original large size composited image intact in case you need to come back to it later.